There was no bread in the house this morning. I was going to run out and pick some up but then I remembered, I can make my own. I am off from work and had stuff to do at home; so, why not?
I started making my own bread last winter. I used to be intimidated by using yeast. I heard horror stories from people about how their breads and pastries never rose. Then I found this really easy recipe on holycowvegan.net and decided to give it a go:
Fast Whole-Wheat Bread
Author: Holy Cow! Vegan Recipes
Ingredients
- 1 cup whole-wheat flour
- 2 cups bread flour
- 2¼ tsp (1 package) active dry yeast
- 1 tbsp sugar
- 1 tsp salt
- 1 cup warm water (not hot– you will kill the yeast)
- 2 tbsp extra virgin olive oil
Instructions
- Place 1 cup of the bread flour, the whole-wheat flour, yeast, sugar and salt in a large bowl or in the bowl of a stand mixer. Whisk to mix together.
- Add the water and the olive oil and mix. Add more of the bread flour if needed. How much flour you will need, will depend on where you live and what the weather’s like. I made this bread on a rainy day in Washington and I needed nearly the whole cup. If you live in a dryer region you might need less.
- Knead the dough for 10 minutes by hand or with your dough hook set to low speed. You should now have a smooth, pliable ball of dough that’s not at all sticky.
- Place the dough ball in an oiled bowl, turning over once to coat the top with oil.
- Cover loosely with plastic wrap or a kitchen towel and set aside for 30-45 minutes or until the dough has doubled in size.
- Remove the risen dough from the bowl and punch it well to deflate all the gases. Using a rolling pin, roll out the dough into a triangle about 10 inches long. Now roll the dough toward yourself and make a cylinder, tucking down the seams and pinching them in so you have a smooth loaf.
- Place the dough in a standard loaf pan, seam side down (most loaf pans are 9 X 4½ or 10 X 5 inches)
- Cover loosely with oiled plastic wrap and let the bread rise in a warm place about 30-45 minutes or until the loaf has risen and domed over the top of the pan.
- Preheat the oven to 450 degrees Fahrenheit.
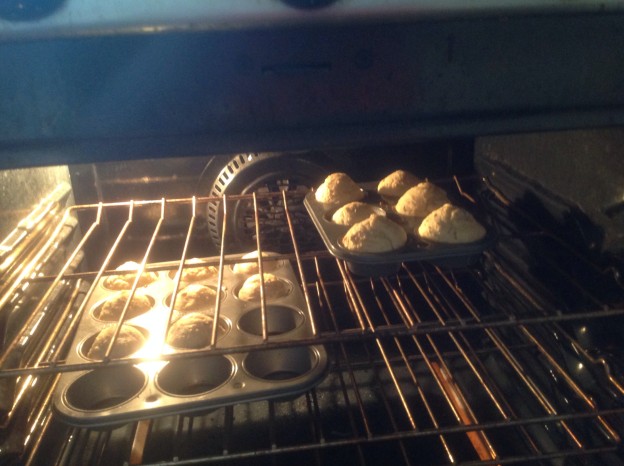
- Place the loaf in the oven and bake for 10 minutes. Then lower the heat to 350 degrees and bake another 30 minutes.
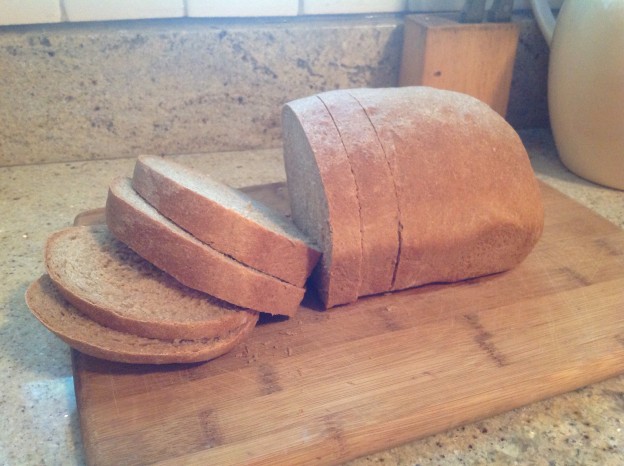
- Remove the loaf pan to a rack and let it stand until the bread is cool enough to handle. Remove the bread from the pan by loosening the sides with your fingers or a spatula. Place on a rack until it has cooled through.
- Slice. Eat.
I have been making it for quite a while and have since made some of my own alterations. Instead of adding more bread flour during the mixing stage, I add the whole wheat flour. So, usually I do 2 cups of whole wheat flour and one cup bread flour. I pre-heat the oven to 425 degrees but I turn it down to 350 right before I put the bread in. The crust is slightly softer that way and better for making sandwiches in my opinion.
Making your own bread is fabulous when you have the time. The benefits are numerous. You can control the ingredients. There are no preservatives. It’s always fresh and delicious. I really love the self-sufficiency of making my own bread. I am being creative, rather than just consuming. I am not reliant on a store to provide for me. By far though, my favorite part is the smell! Oh my goodness, your house will smell so so so wonderful. Your nose will be very happy!
Do you ever make your own bread? Are you willing to give it a try? Please leave me a reply in the comments section. I would love to hear from you.
Many blessings,
Cynthia
Please follow me on Twitter. Also, please LIKE my Facebook Page.