My First Youtube Video – DIY Fire Starter
Leave a reply

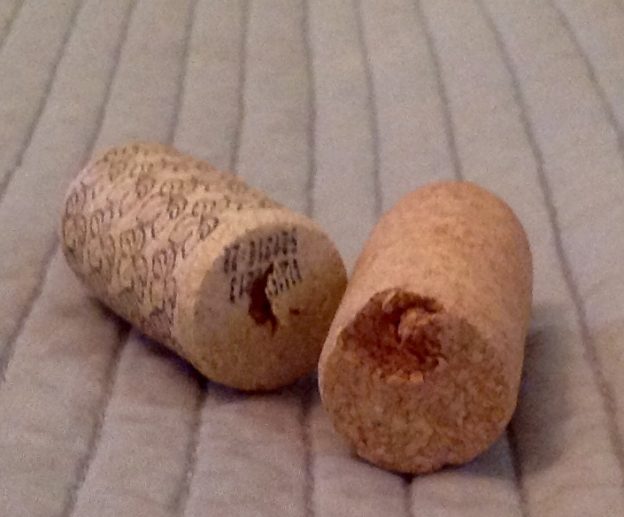
The easiest way to reuse a cork is to stick it back in the bottle. So, technically this would be the second easiest. You might be able to do it right now.
I was organizing my essential oils when I spotted an accumulated collection of wine corks. Am I the only who has trouble throwing them away? If you do too, you might want to try this. It occurred to me that if I put some cedar wood oil in the cork; I could throw it in my closet and it would work like those little cedar balls that you can buy at the drugstore. So, I did and it does.
Just put a few drops right in the hole where the corkscrew went. You can put it anywhere you want really since the cork is porous. However, it’s a lot less messy if you put it inside. It occurred to me that I could use whatever scent I wanted. So, I started adding a few drops of lavender oil as well. My closet now smells lovely!
There you have it: easiest cork DIY ever. You’re welcome! Tell your friends!
Many blessings,
Cynthia
Please follow me on Twitter. Also, please LIKE my Facebook Page.

Did you know that greeting cards were handmade up until the middle of the nineteenth century? That was when advances in printing made it possible to reproduce a design relatively cheaply.
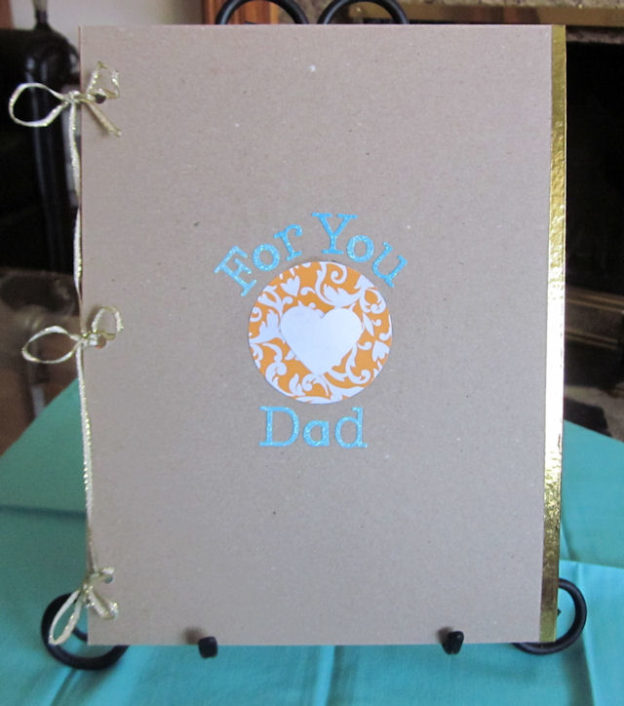
I can’t help but think sometimes that technology and the ability to mass-produce cheaply has turned many of us into mass consumers rather than creators. Well, I say “NO” this year to a cheap, mass-produced Father’s Day card and “hello” to creating my own handmade greeting. I also decided to make it mostly from materials destined for the bin.
When we get book inserts at work, they come wrapped in shrink wrap on these cardboard pieces to keep them from getting damaged in shipping. Since my office building doesn’t recycle, I have been trying to find ways to reuse them. Usually, I stick them in large envelopes to keep documents from getting bent in the mail but I have found they are also great for craft projects like making cards and journals.
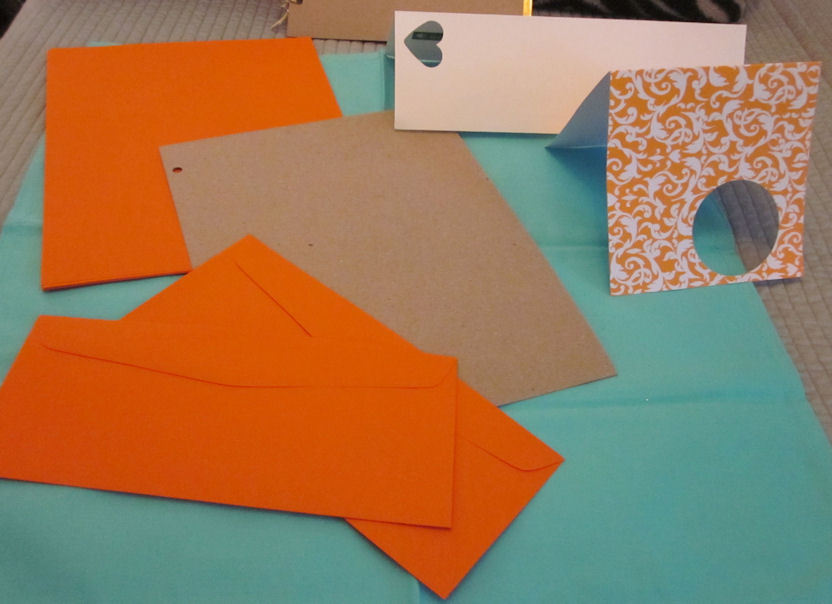
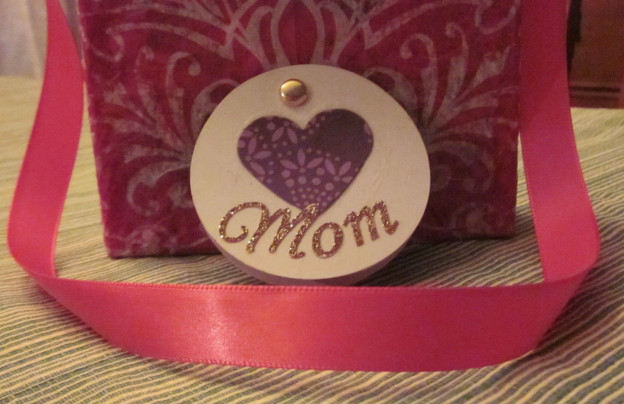
All of the materials used in this card, except for the gold ribbon, the lettering, the white inner paper, the gold washi tape and the Velcro dot on the inner envelope, were saved from getting dumped in the bin at work. (If you need orange envelopes…call me.)

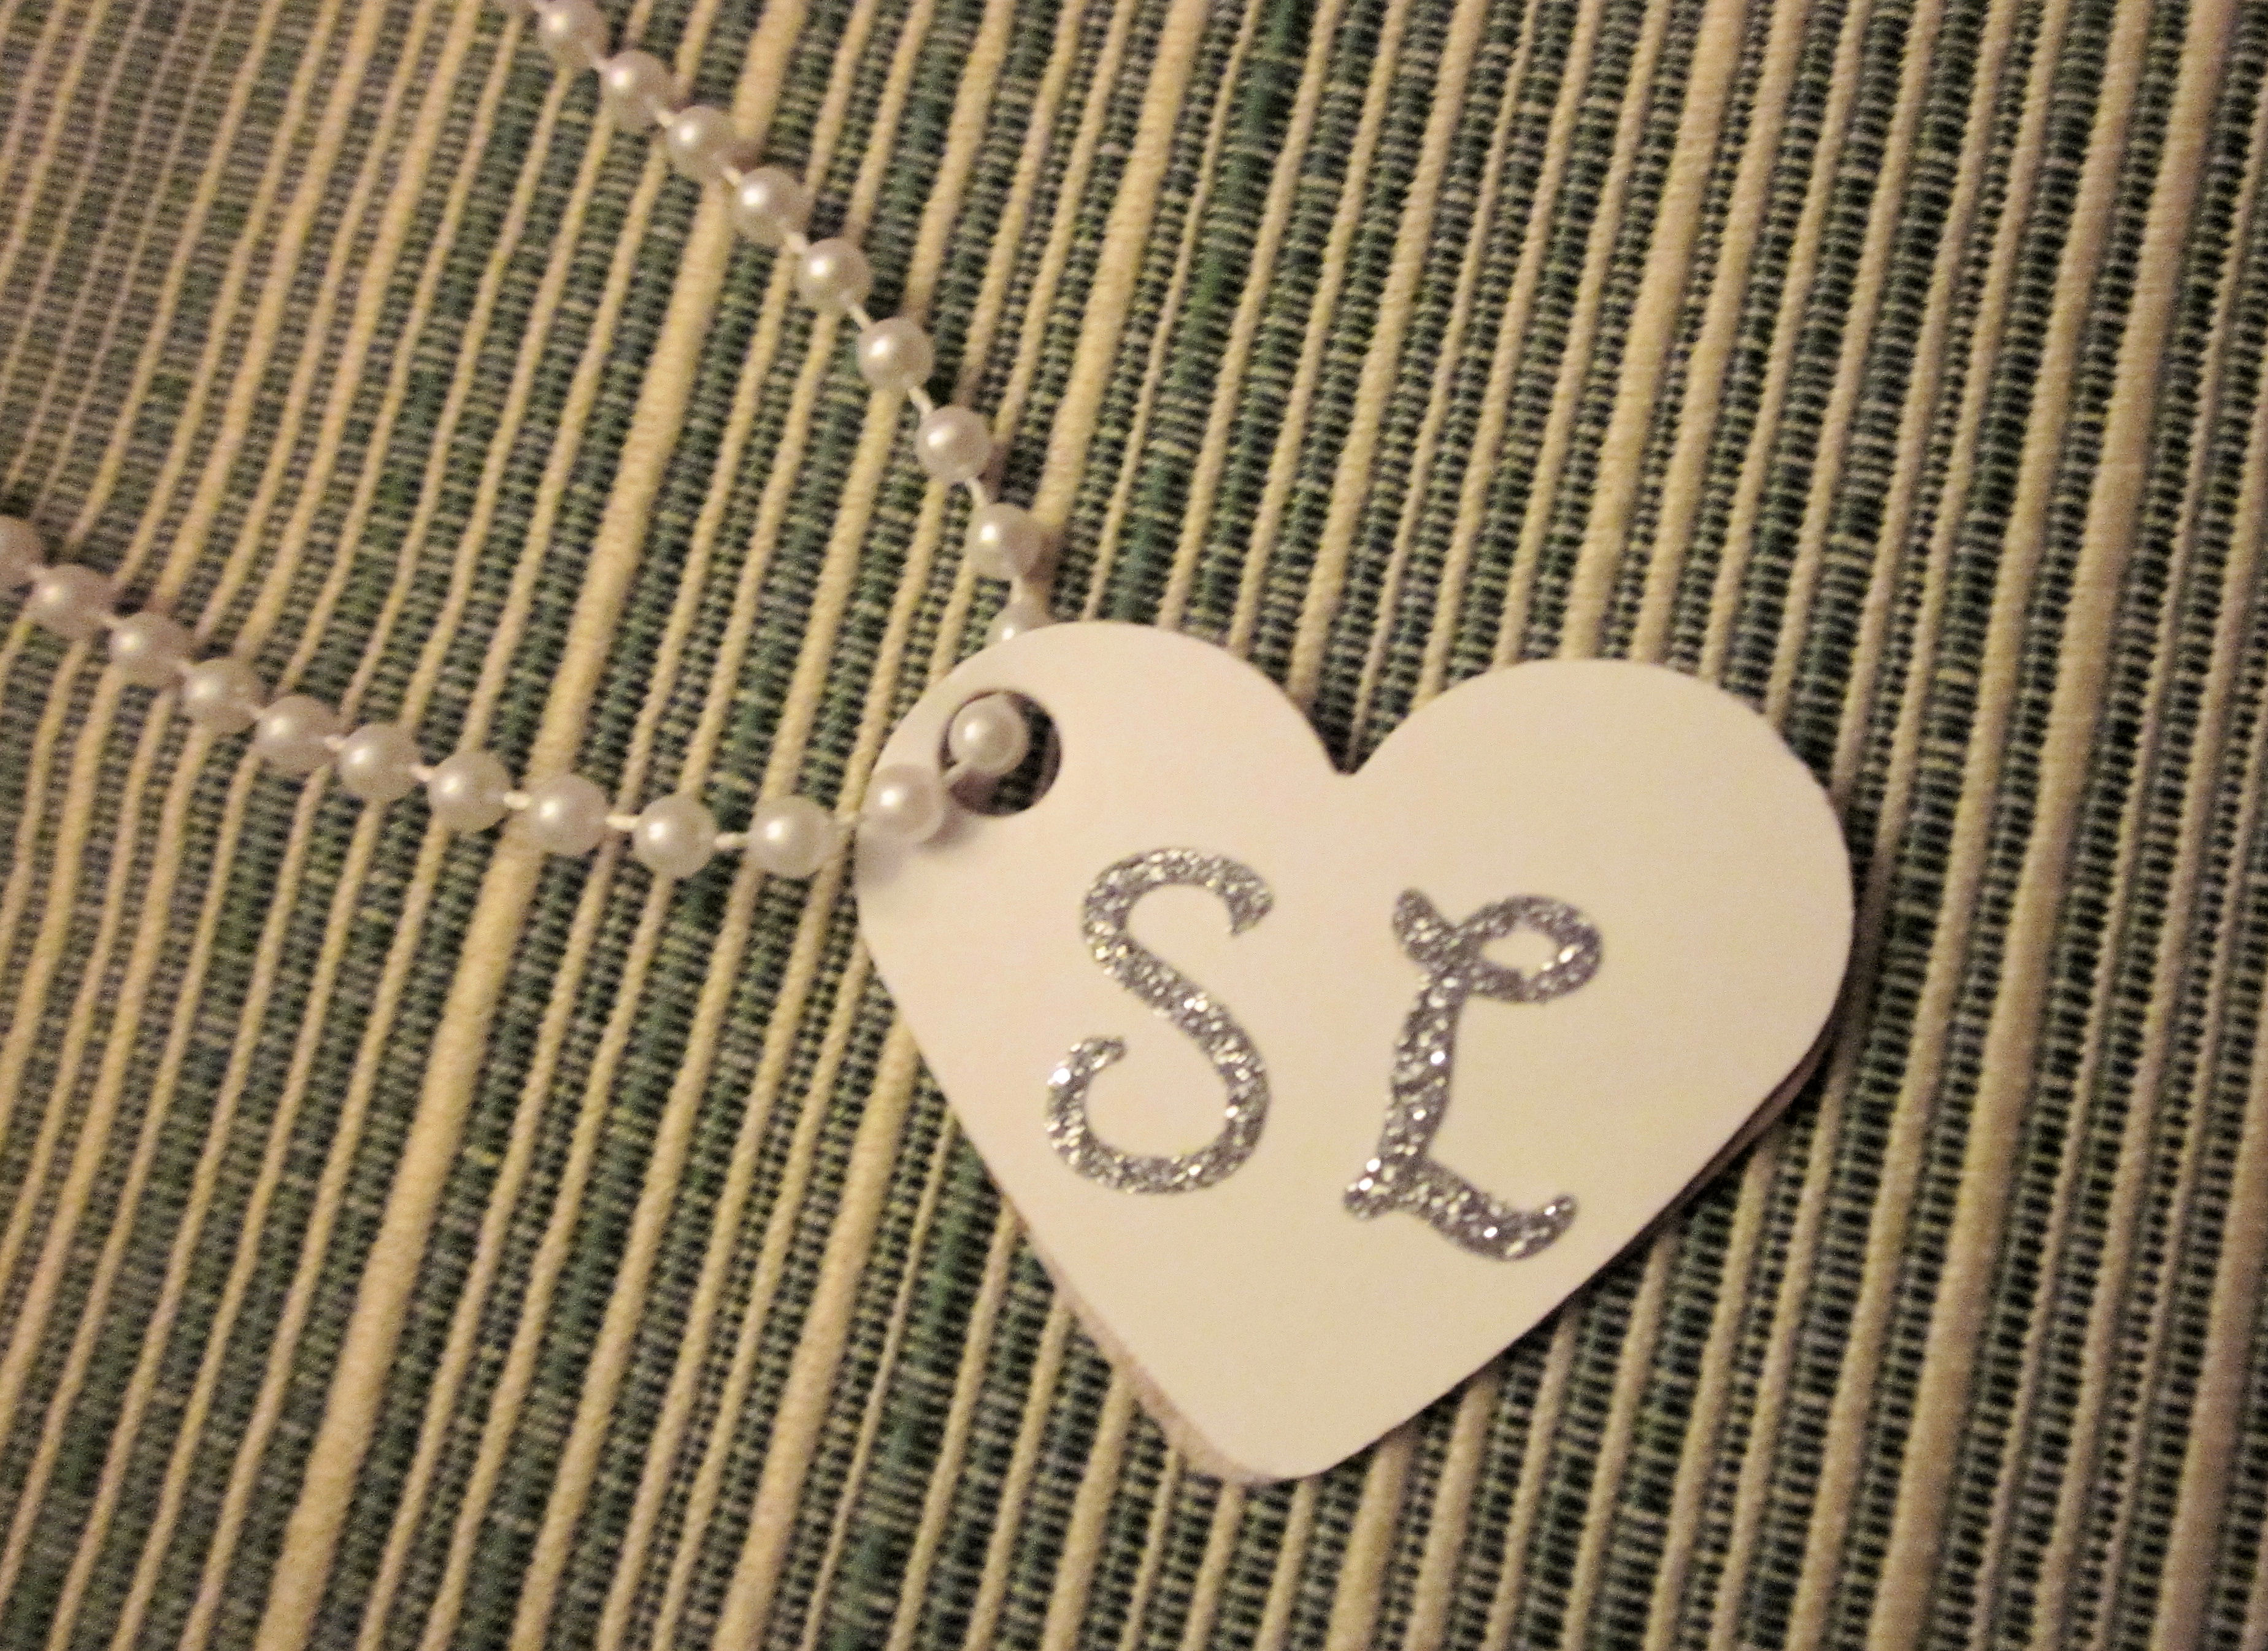
The white heart was punched from a name tent from a past class. The circle behind it is punched from a Thank you card someone was kind enough to give me.
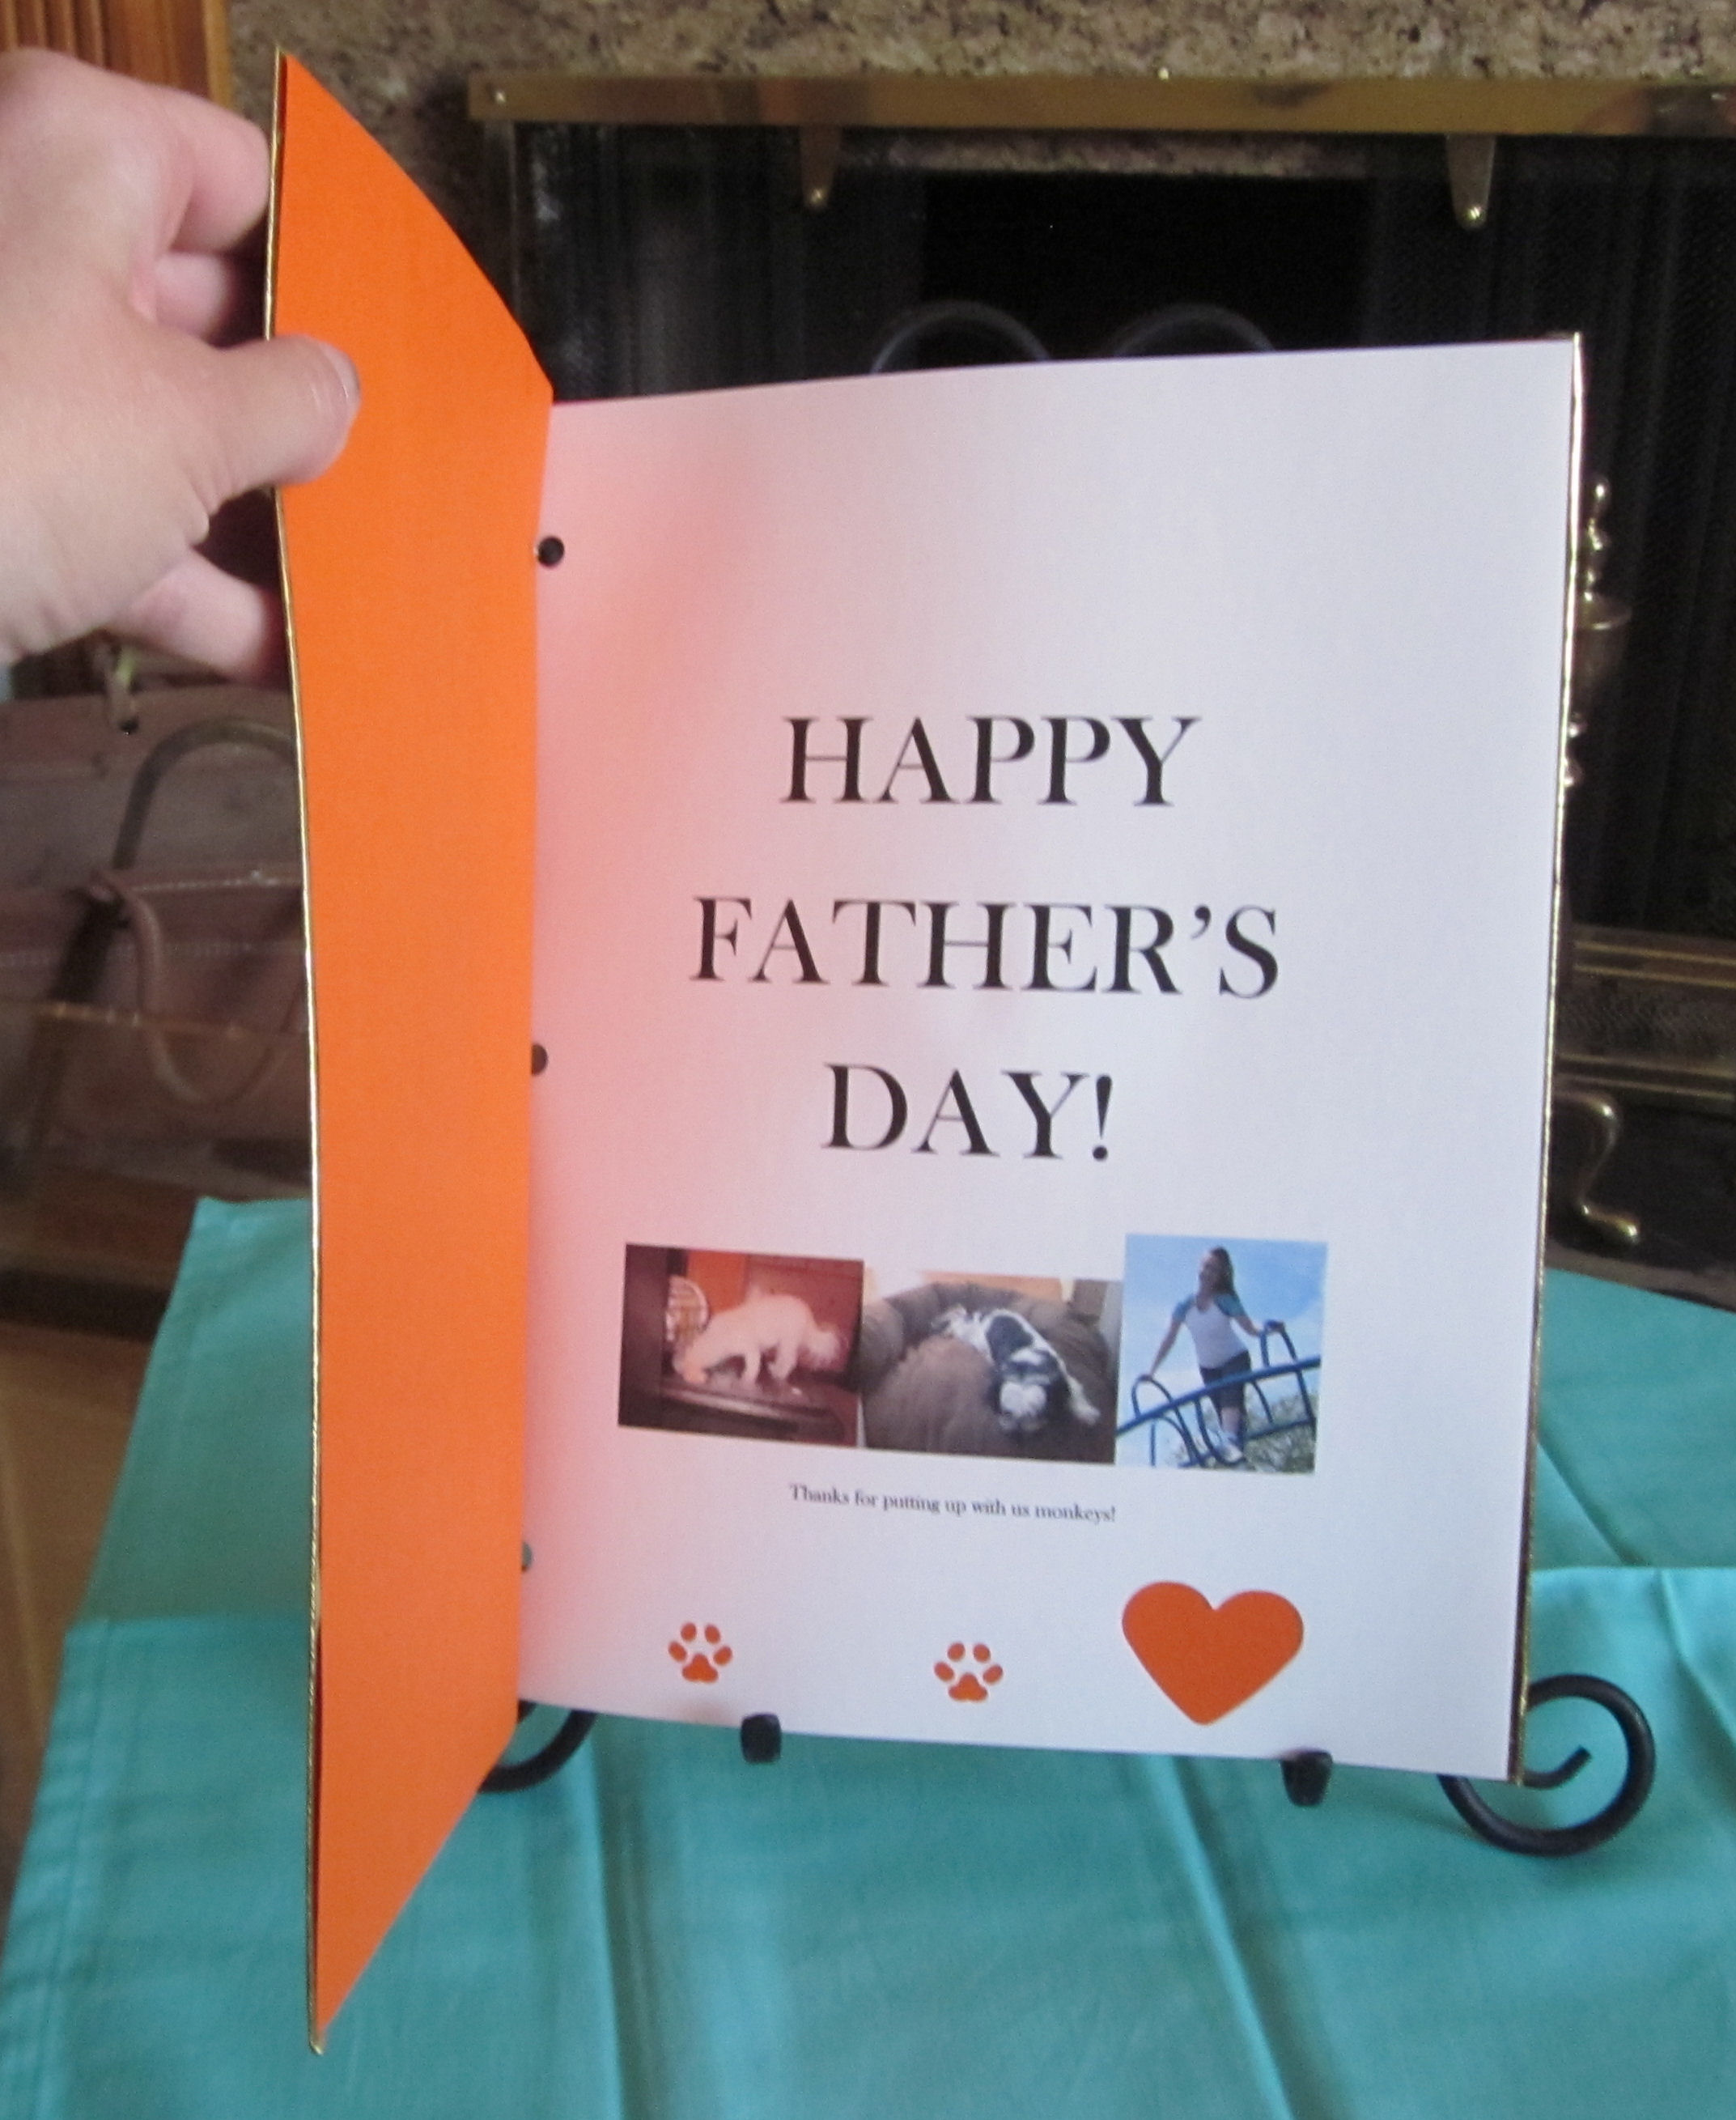
While it may not be perfect in the way that a commercial card is, making your own gives you an excellent opportunity to add fun embellishments or personalize your greeting to the recipient.

I added this envelope in the back, so I could include a letter from my parents’ dog, Lucy. (They receive correspondence from Lucy whenever they go on long trips. Perhaps, not surprisingly, this began when I found myself with an over-abundance of orange paper and envelopes.)
Tell me, do you ever make your own cards? Is it something you would consider?
Wishing all you fathers (of humans and furry kids) a very happy Father’s Day!
Many Blessings,
Cynthia
Please follow me on Twitter. Also, please LIKE my Facebook Page.
Ever go to the card store and find yourself thinking,”Man, cards are really expensive!?” Ever go to the craft store and find yourself thinking, “Man, paper is really expensive!?” Yes? Excellent! I think you are going to like this upcycled solution.
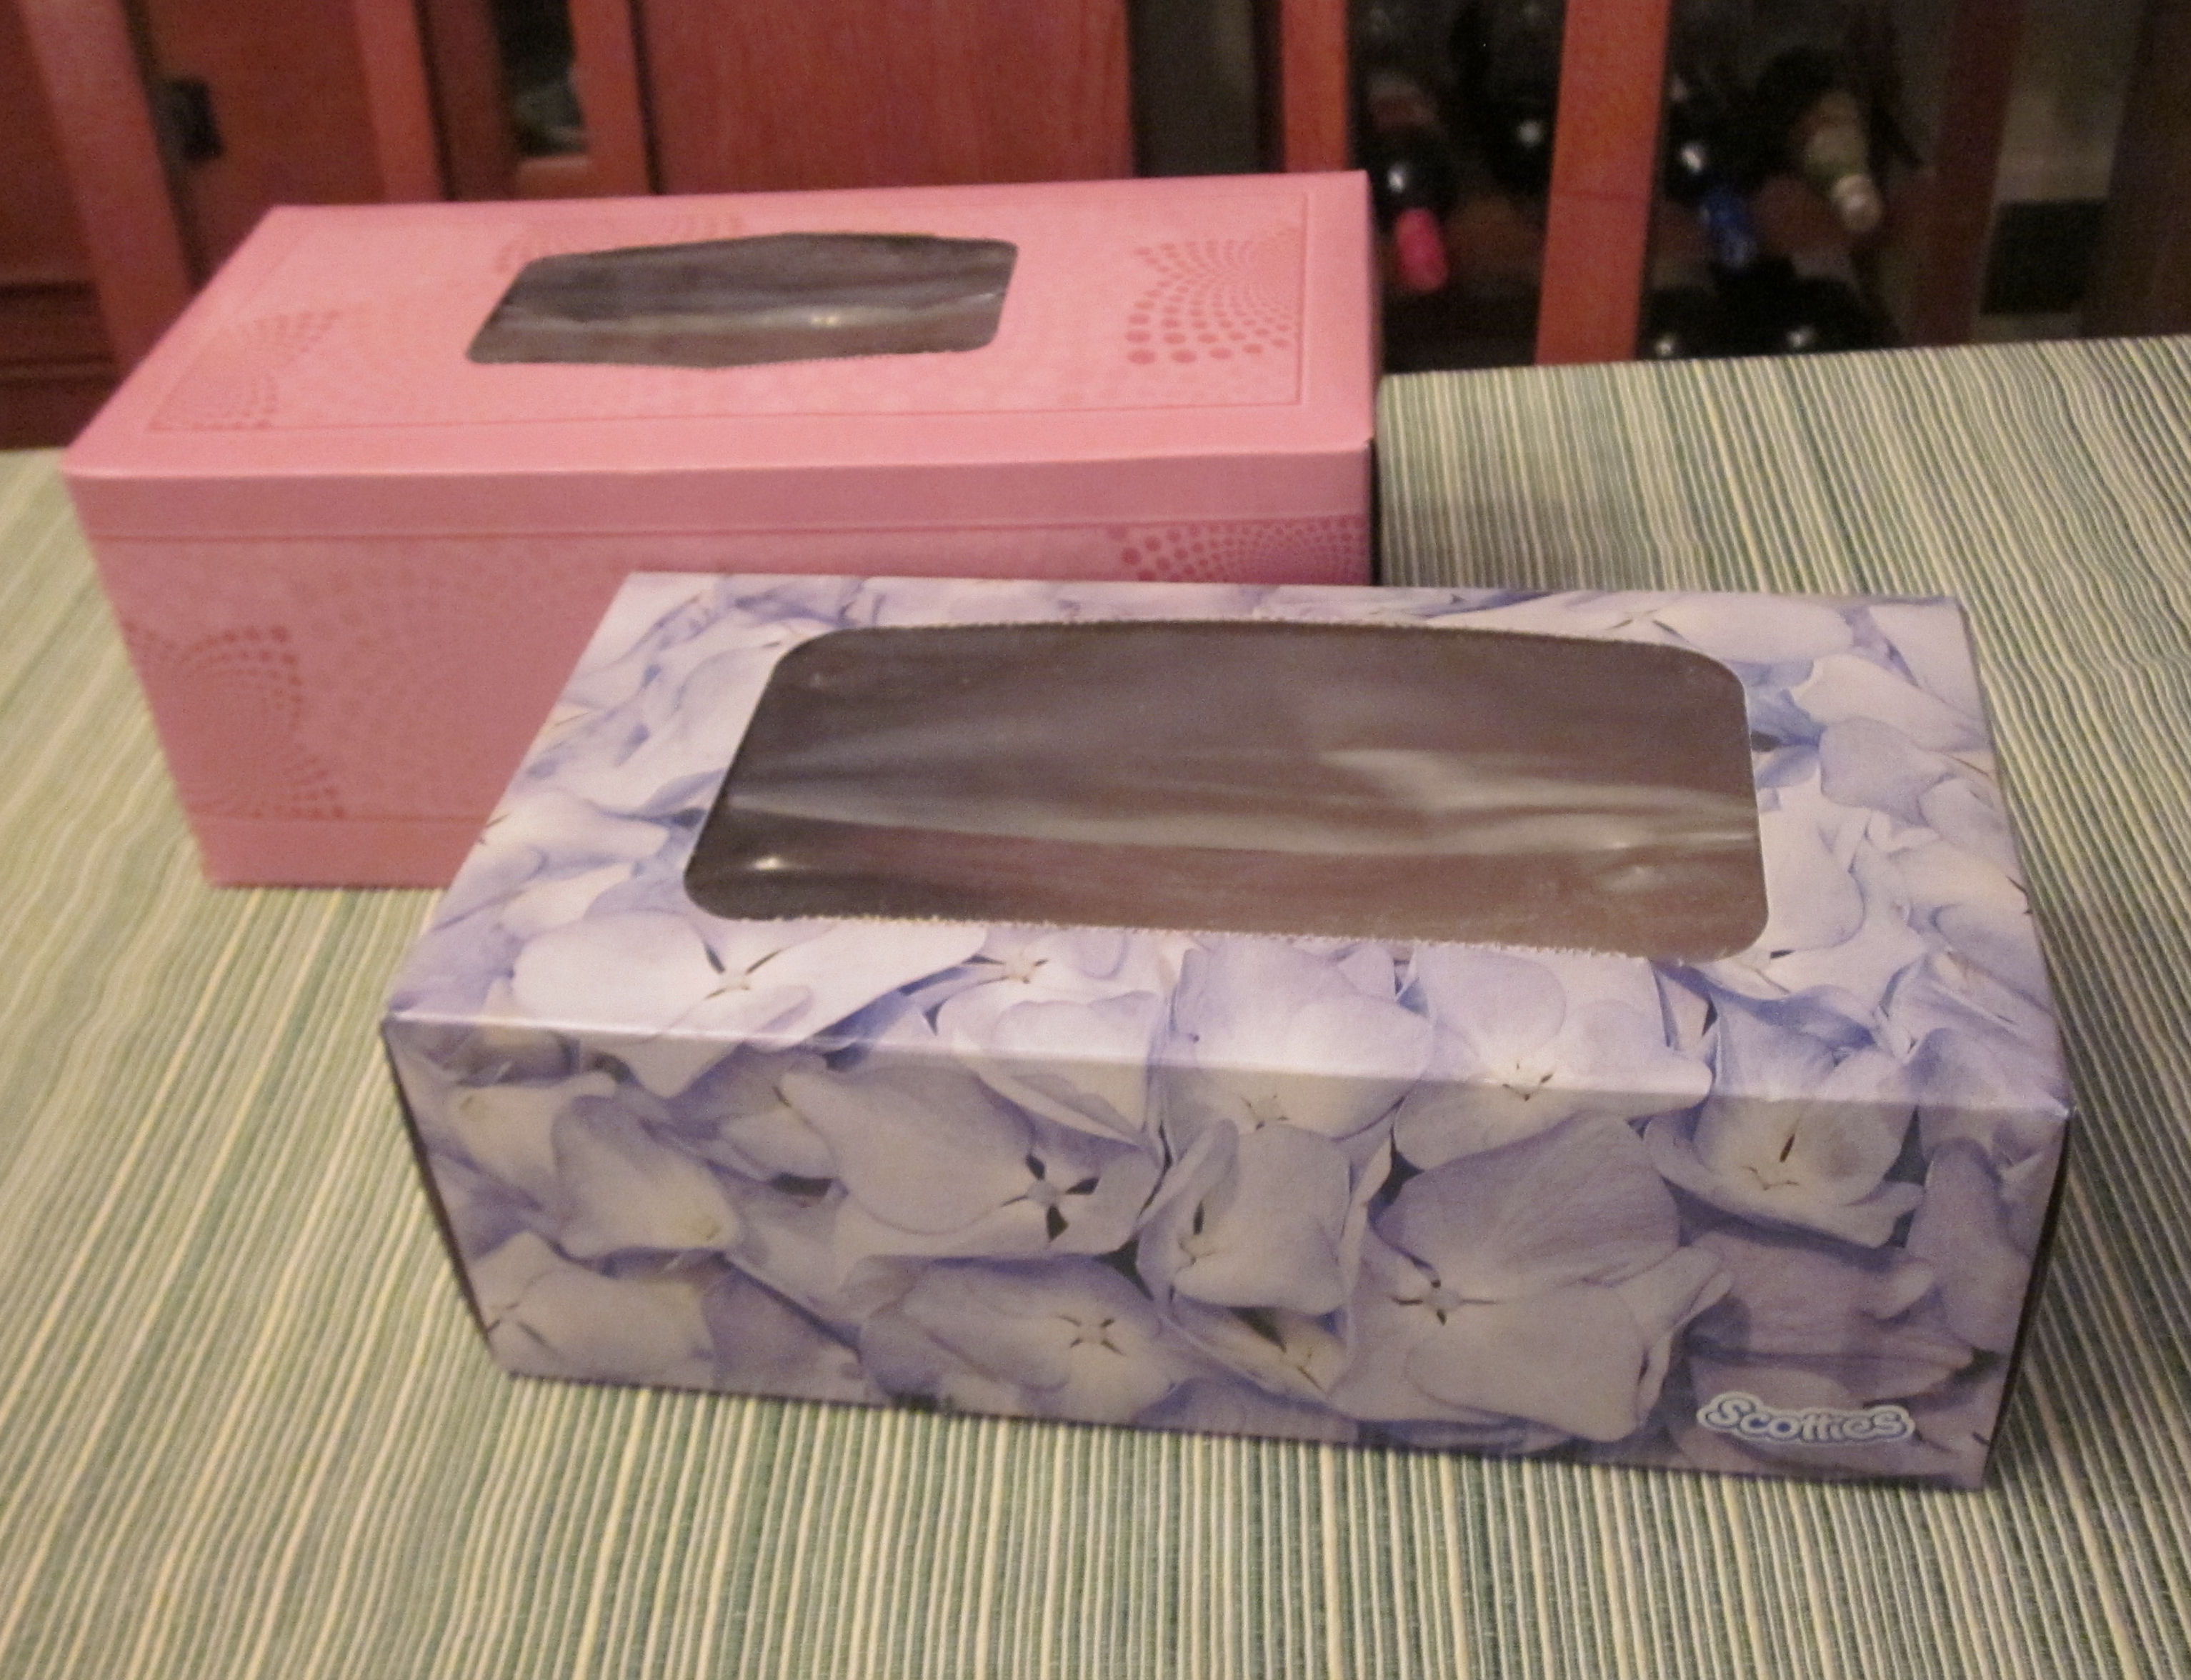
I started noticing some really nice designs on tissue boxes after watching a few of Jennibellie’s videos on YouTube. Definitely, check her channel out for inspiration. She creates truly beautiful projects and often incorporates pre-used materials into her designs.
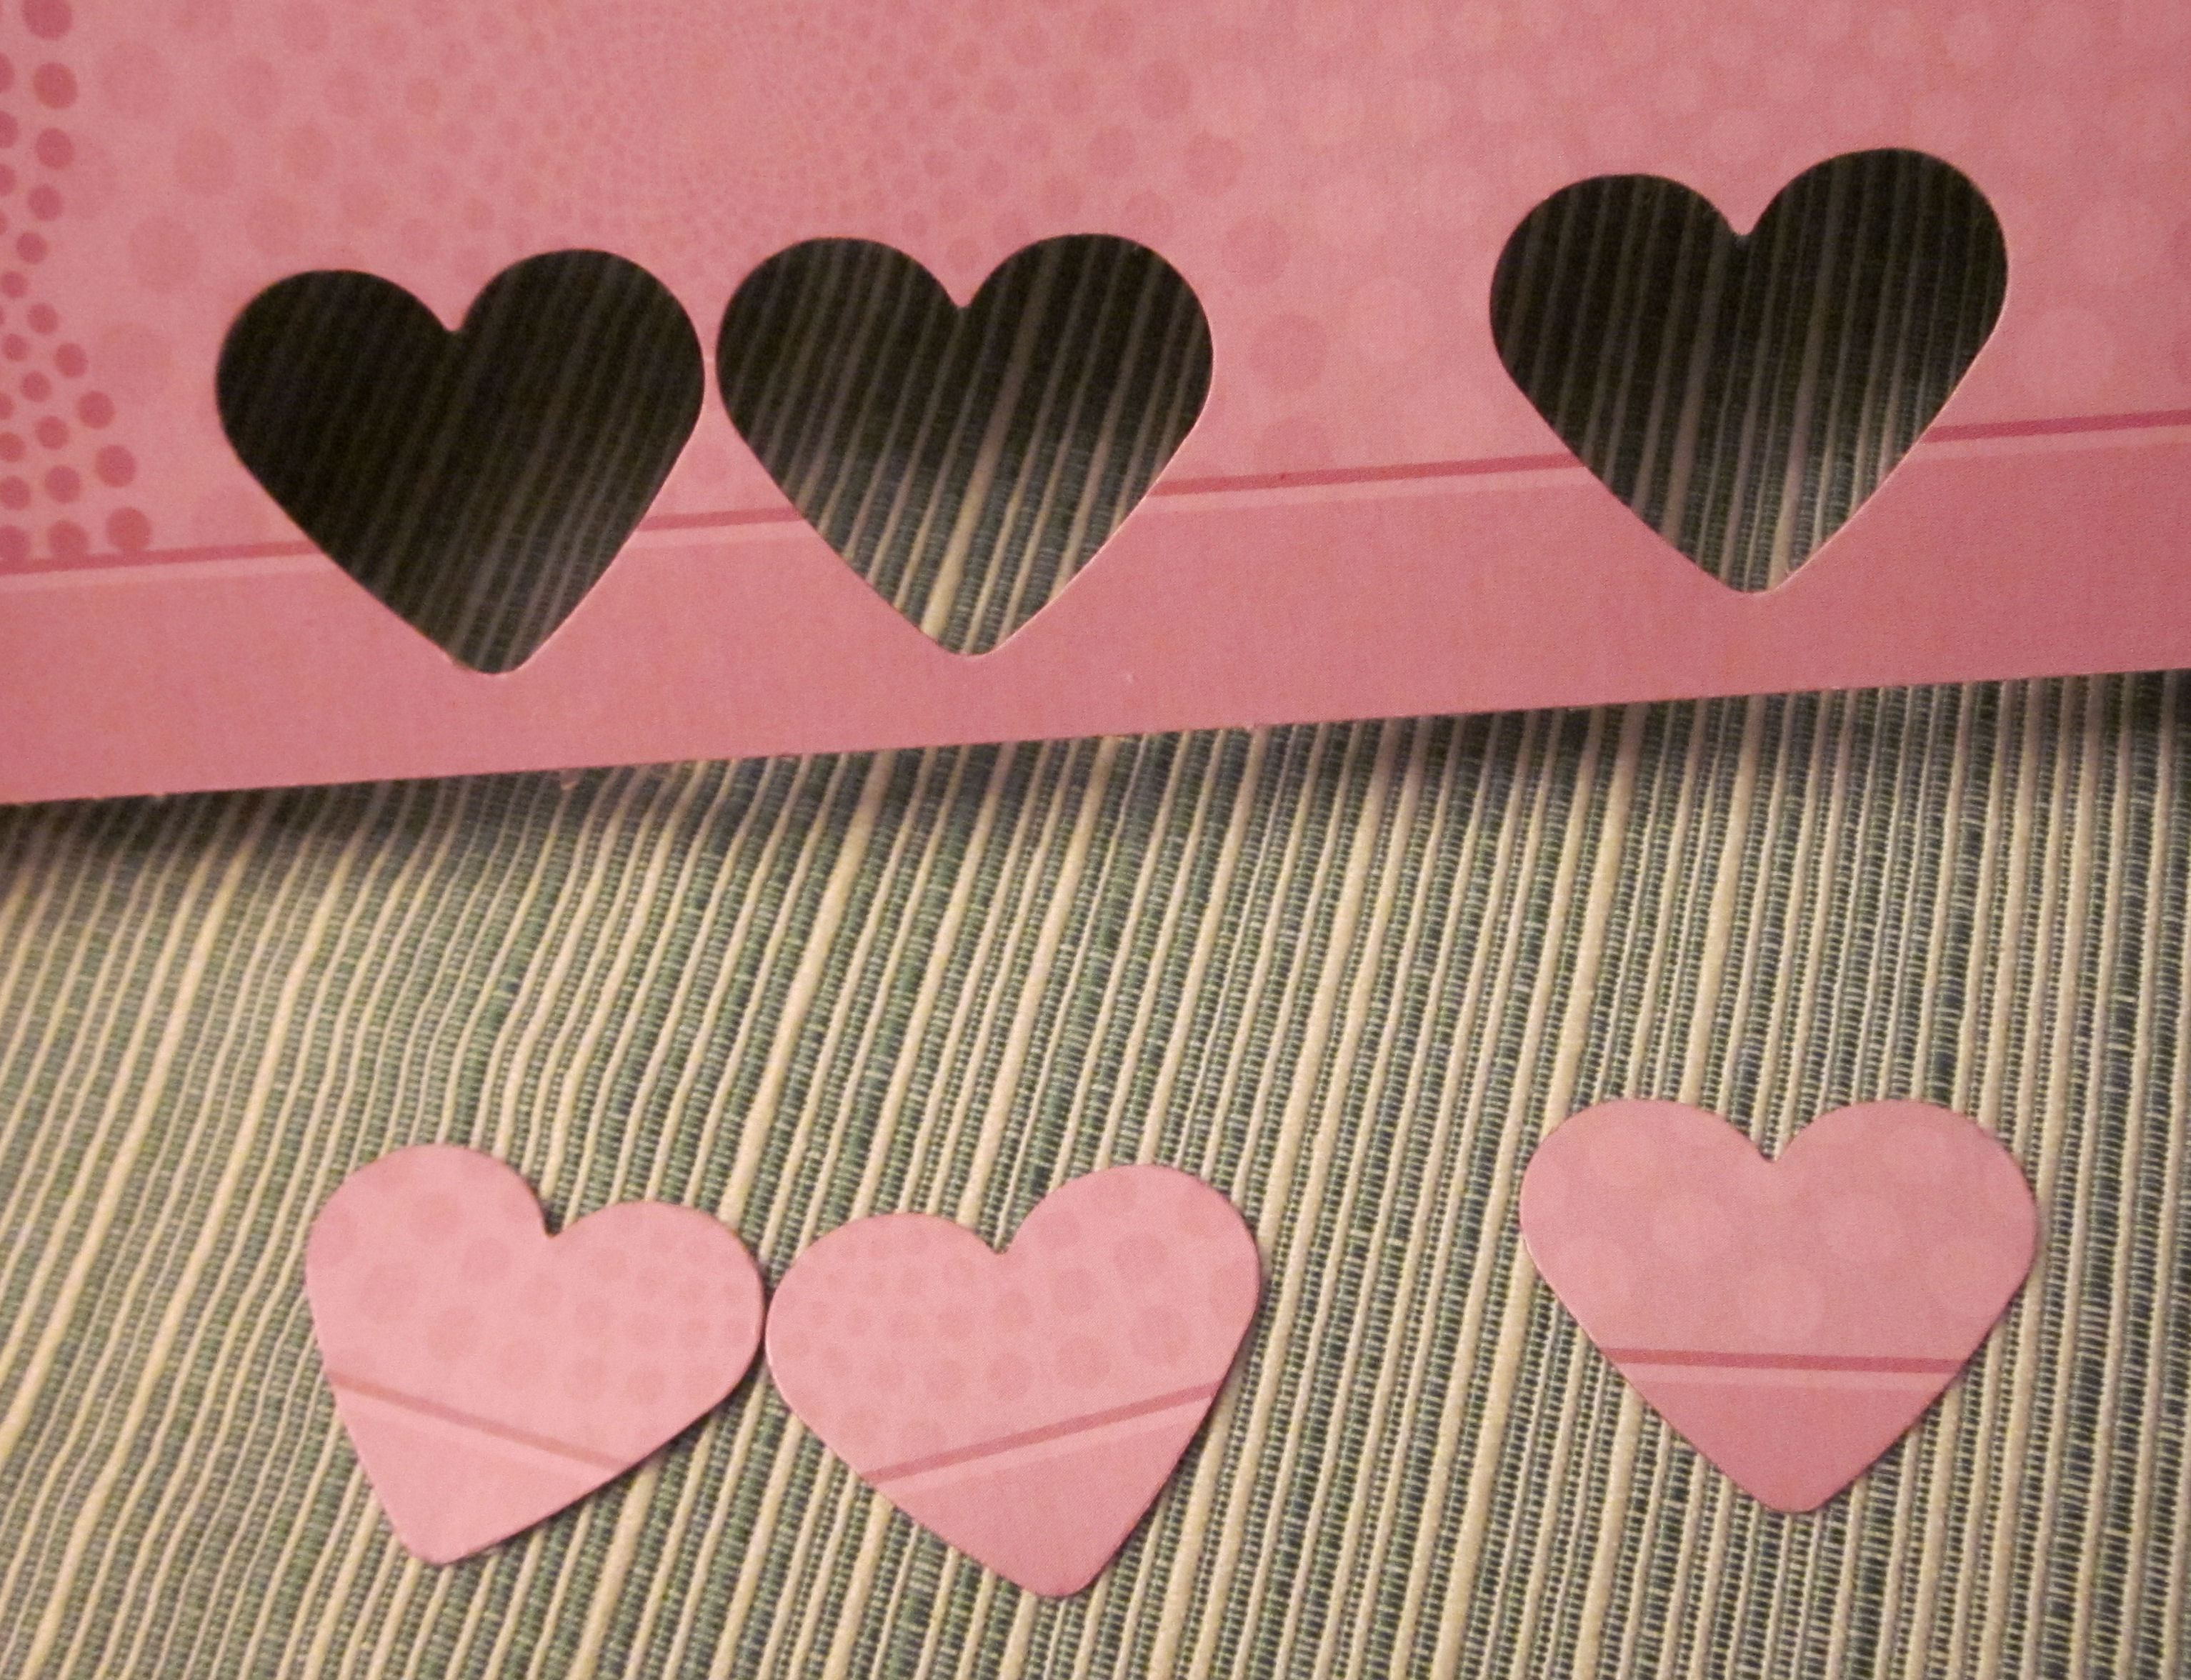
I picked up a few punches from Michael’s and began making some creations of my own (which I would have photographed more of if I had known I was going to write this post. ) Punches are a good investment. They save you time, as well as wear and tear on your scissors… and your hands!
It’s a lot of fun making your own cards because they can be as simple or complex as you want or have time to make. You can add hinges made from ribbon or brads. You can also personalize them to suit your gift recipient by adding their name, embellishments and using their favorite colors. You’re only limited by your imagination!

Use what you already have whenever you can!
Once you start doing these types of upcycled projects, you develop an eagle for materials that can be made over like these old name tags from work. Why not? The card stock is good quality. They would only end up in the trash. Why not flip them over and give them a second life?
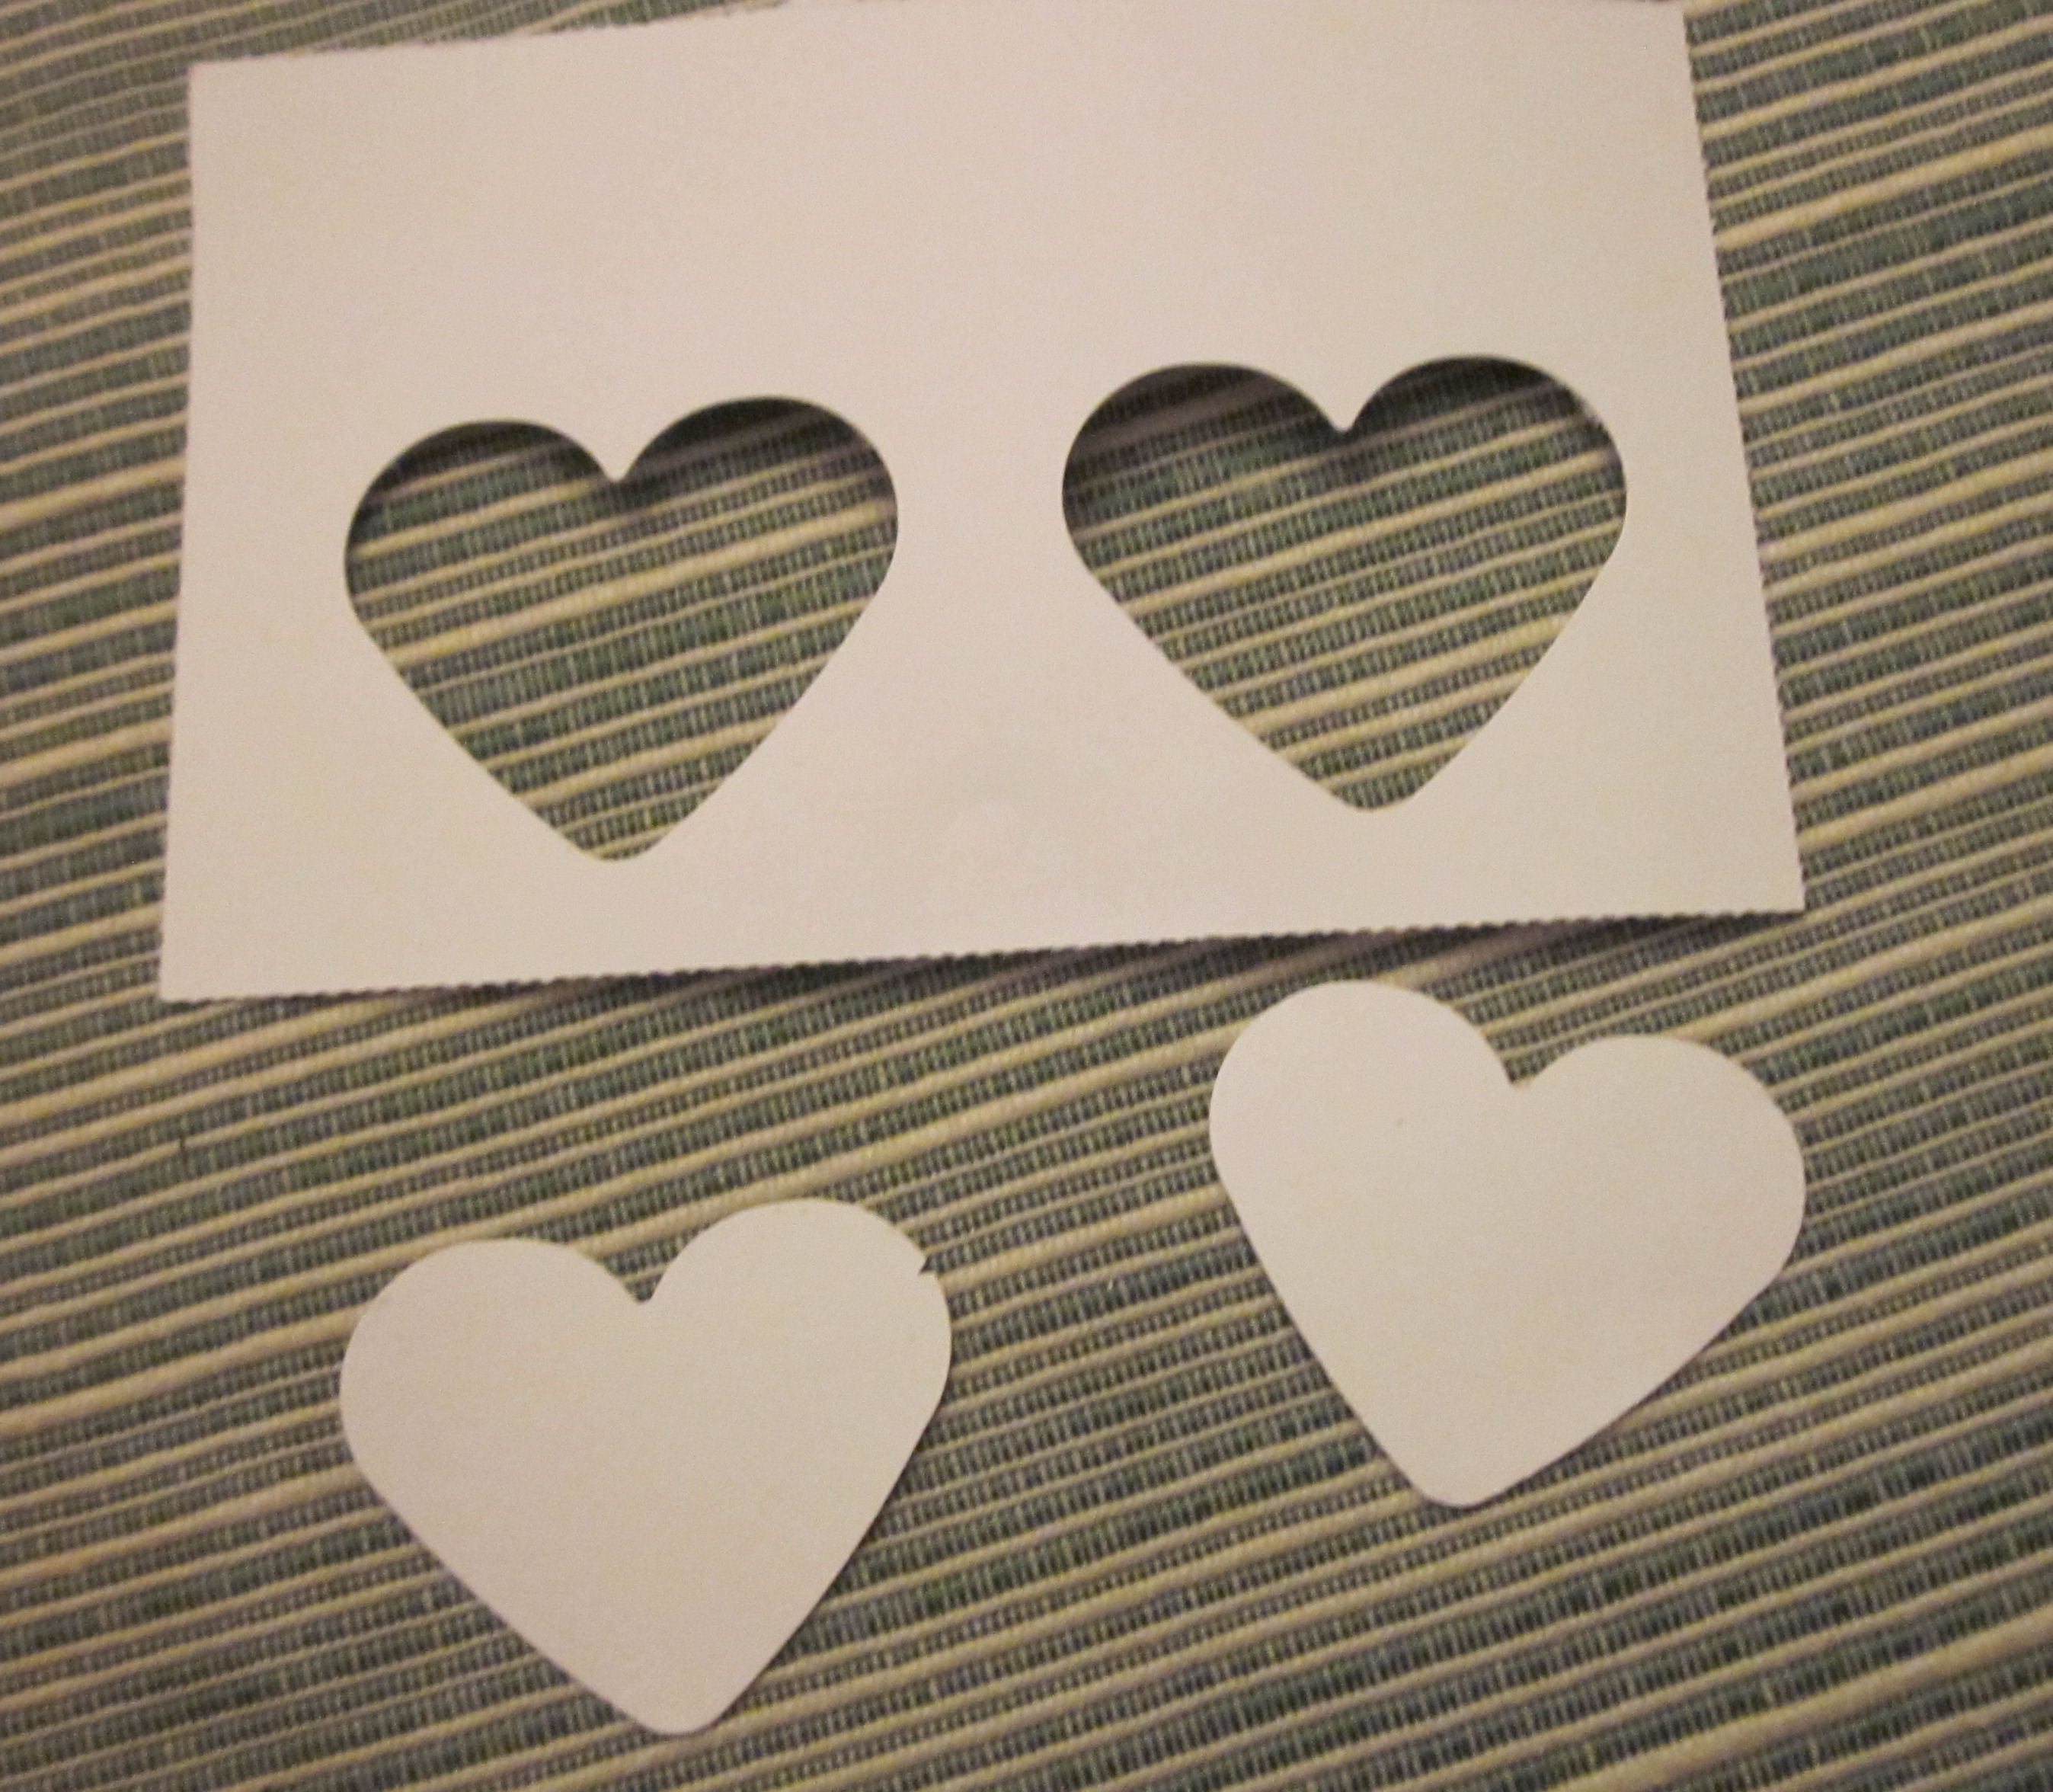
Before you know it, you’ve created a pretty little, thoughtful gift decoration and it cost you practically nothing! You didn’t have to go to a store. You got away from electronics for a little while. You have exercised your creative muscles. You have made choices that are kinder to Mama Earth.

Do you make your own cards and gift tags? Leave me a reply in the comments section and let me know. I would love to hear from you.
Many blessings to all,
Cynthia
Please follow me on Twitter. Also, please LIKE my Facebook Page.
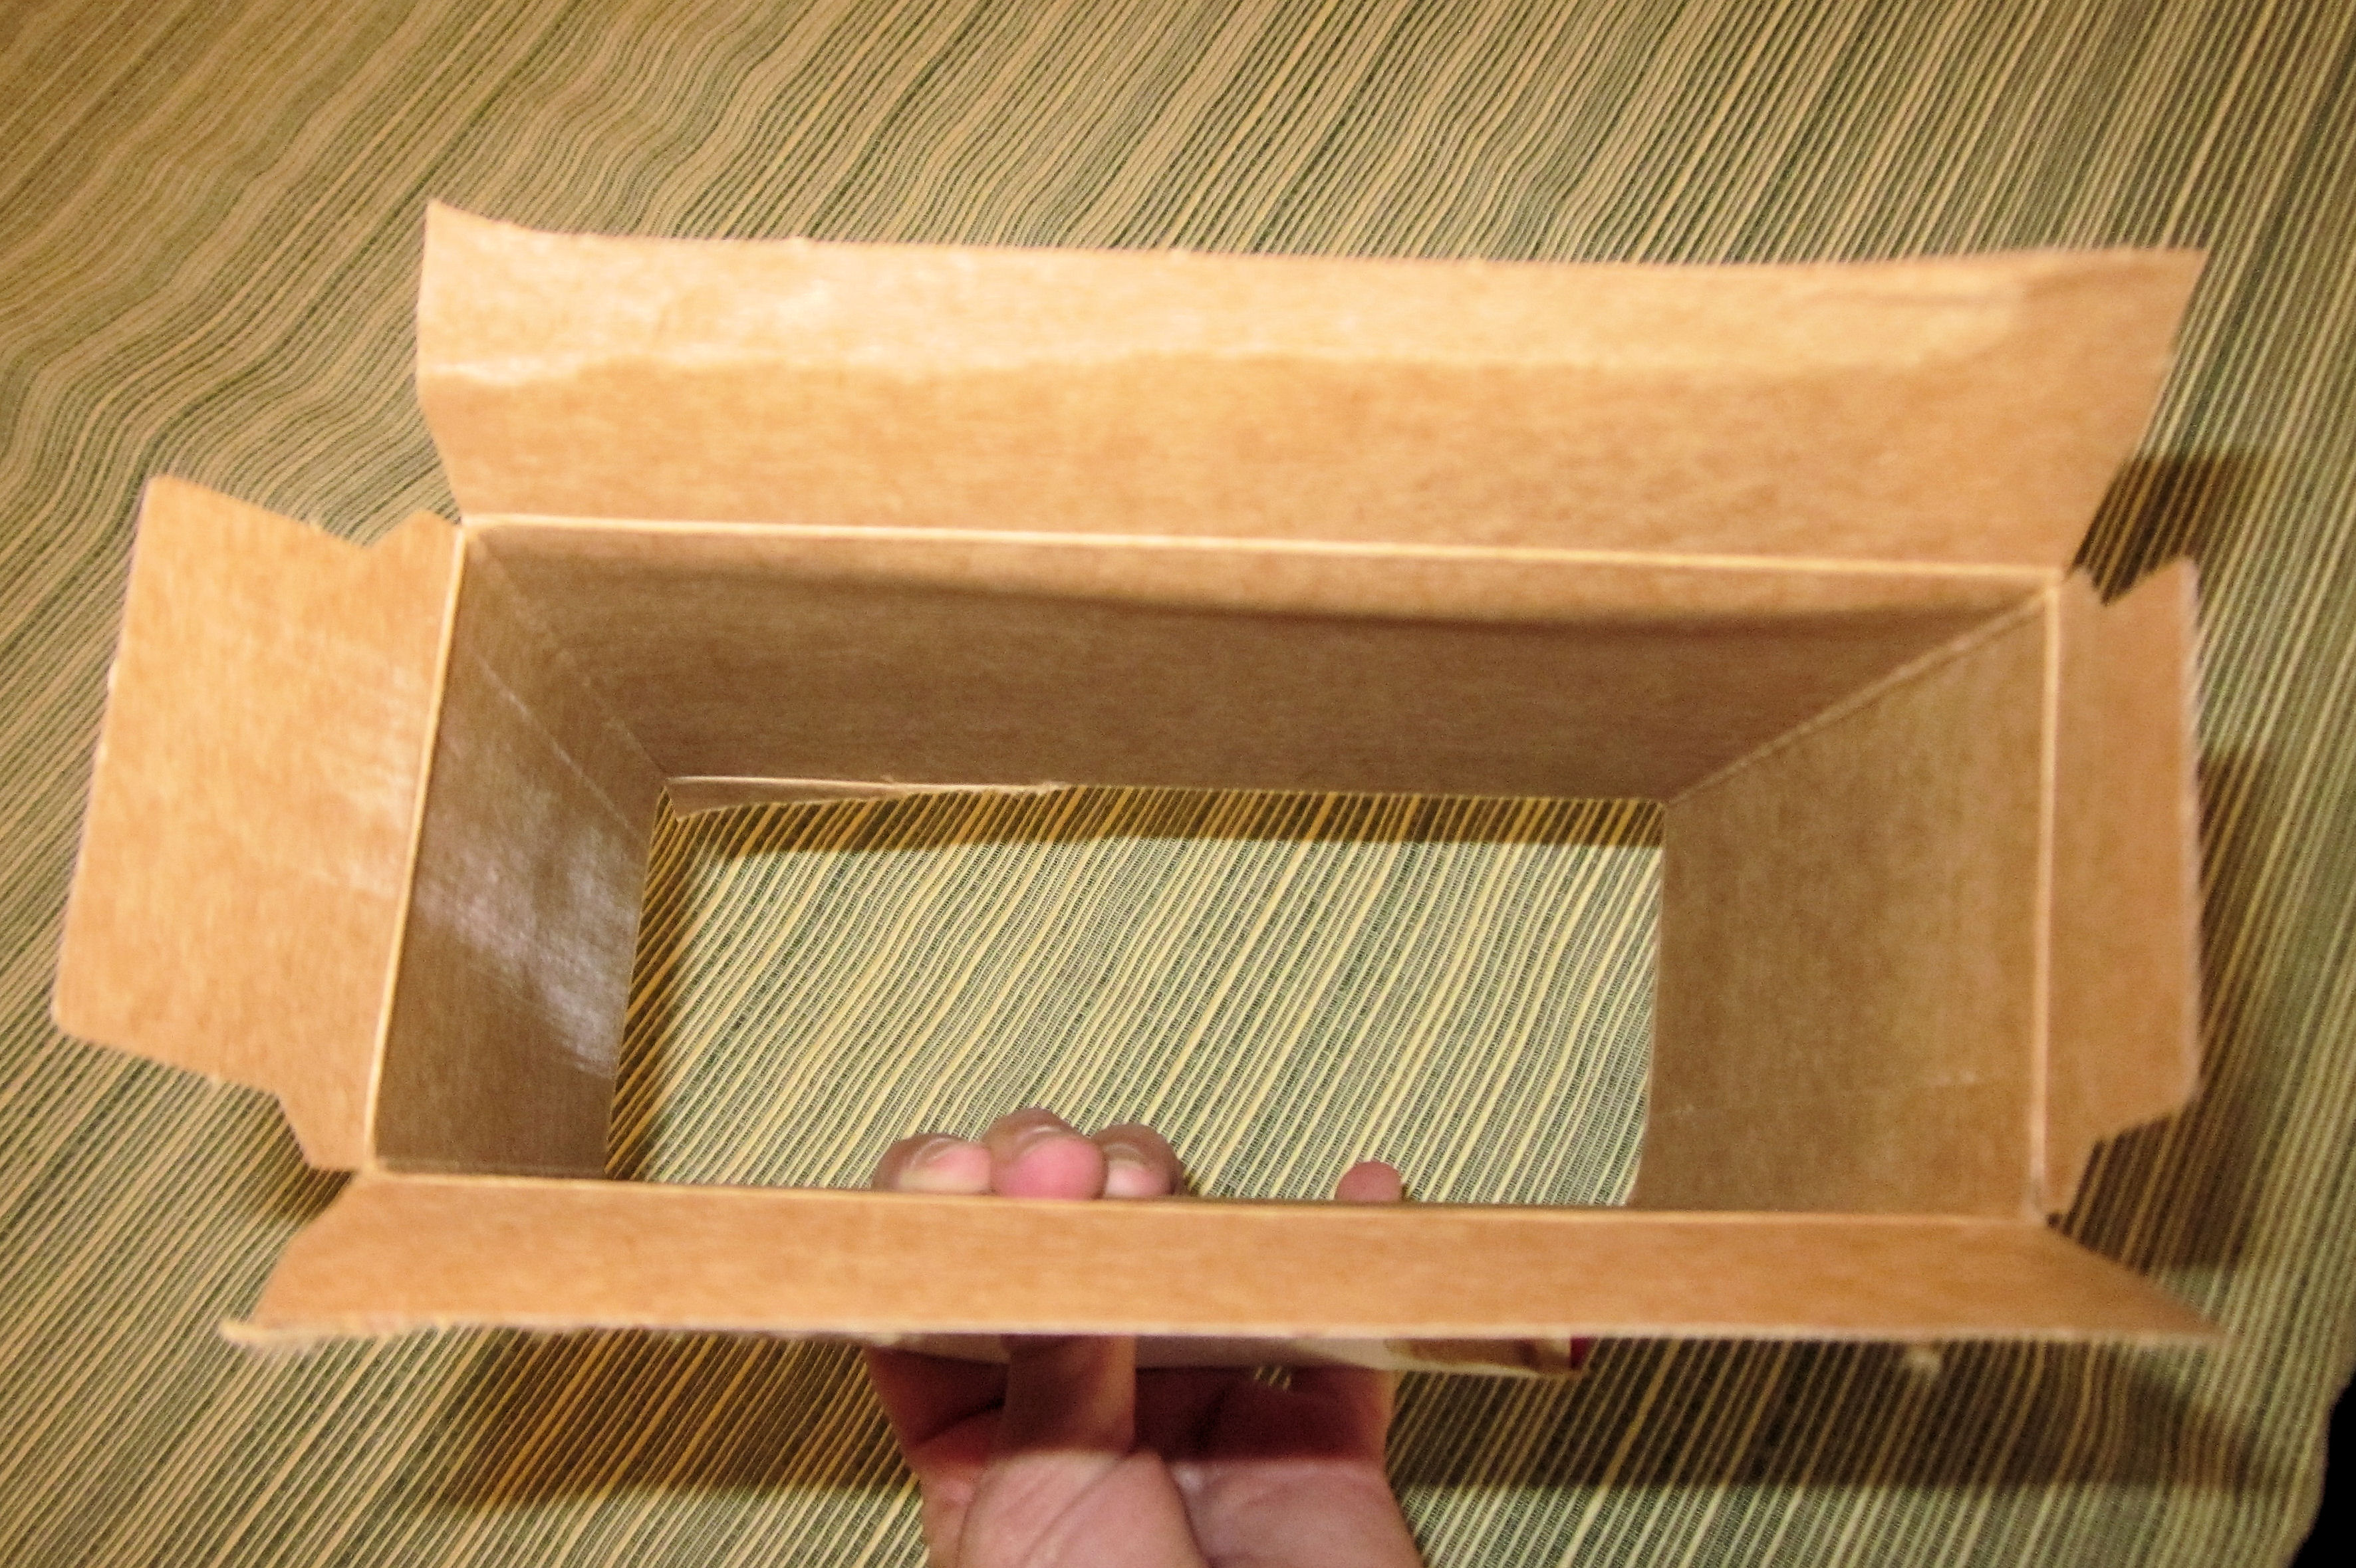
May I ask you a personal question? When you empty a box like this:

What do you do with it? Do you throw it away? Do you recycle it? Would you like to know what I’m going to do with this one? I am going to upcyle it into a mailer. It’s so easy!
1. I open the bottom up:
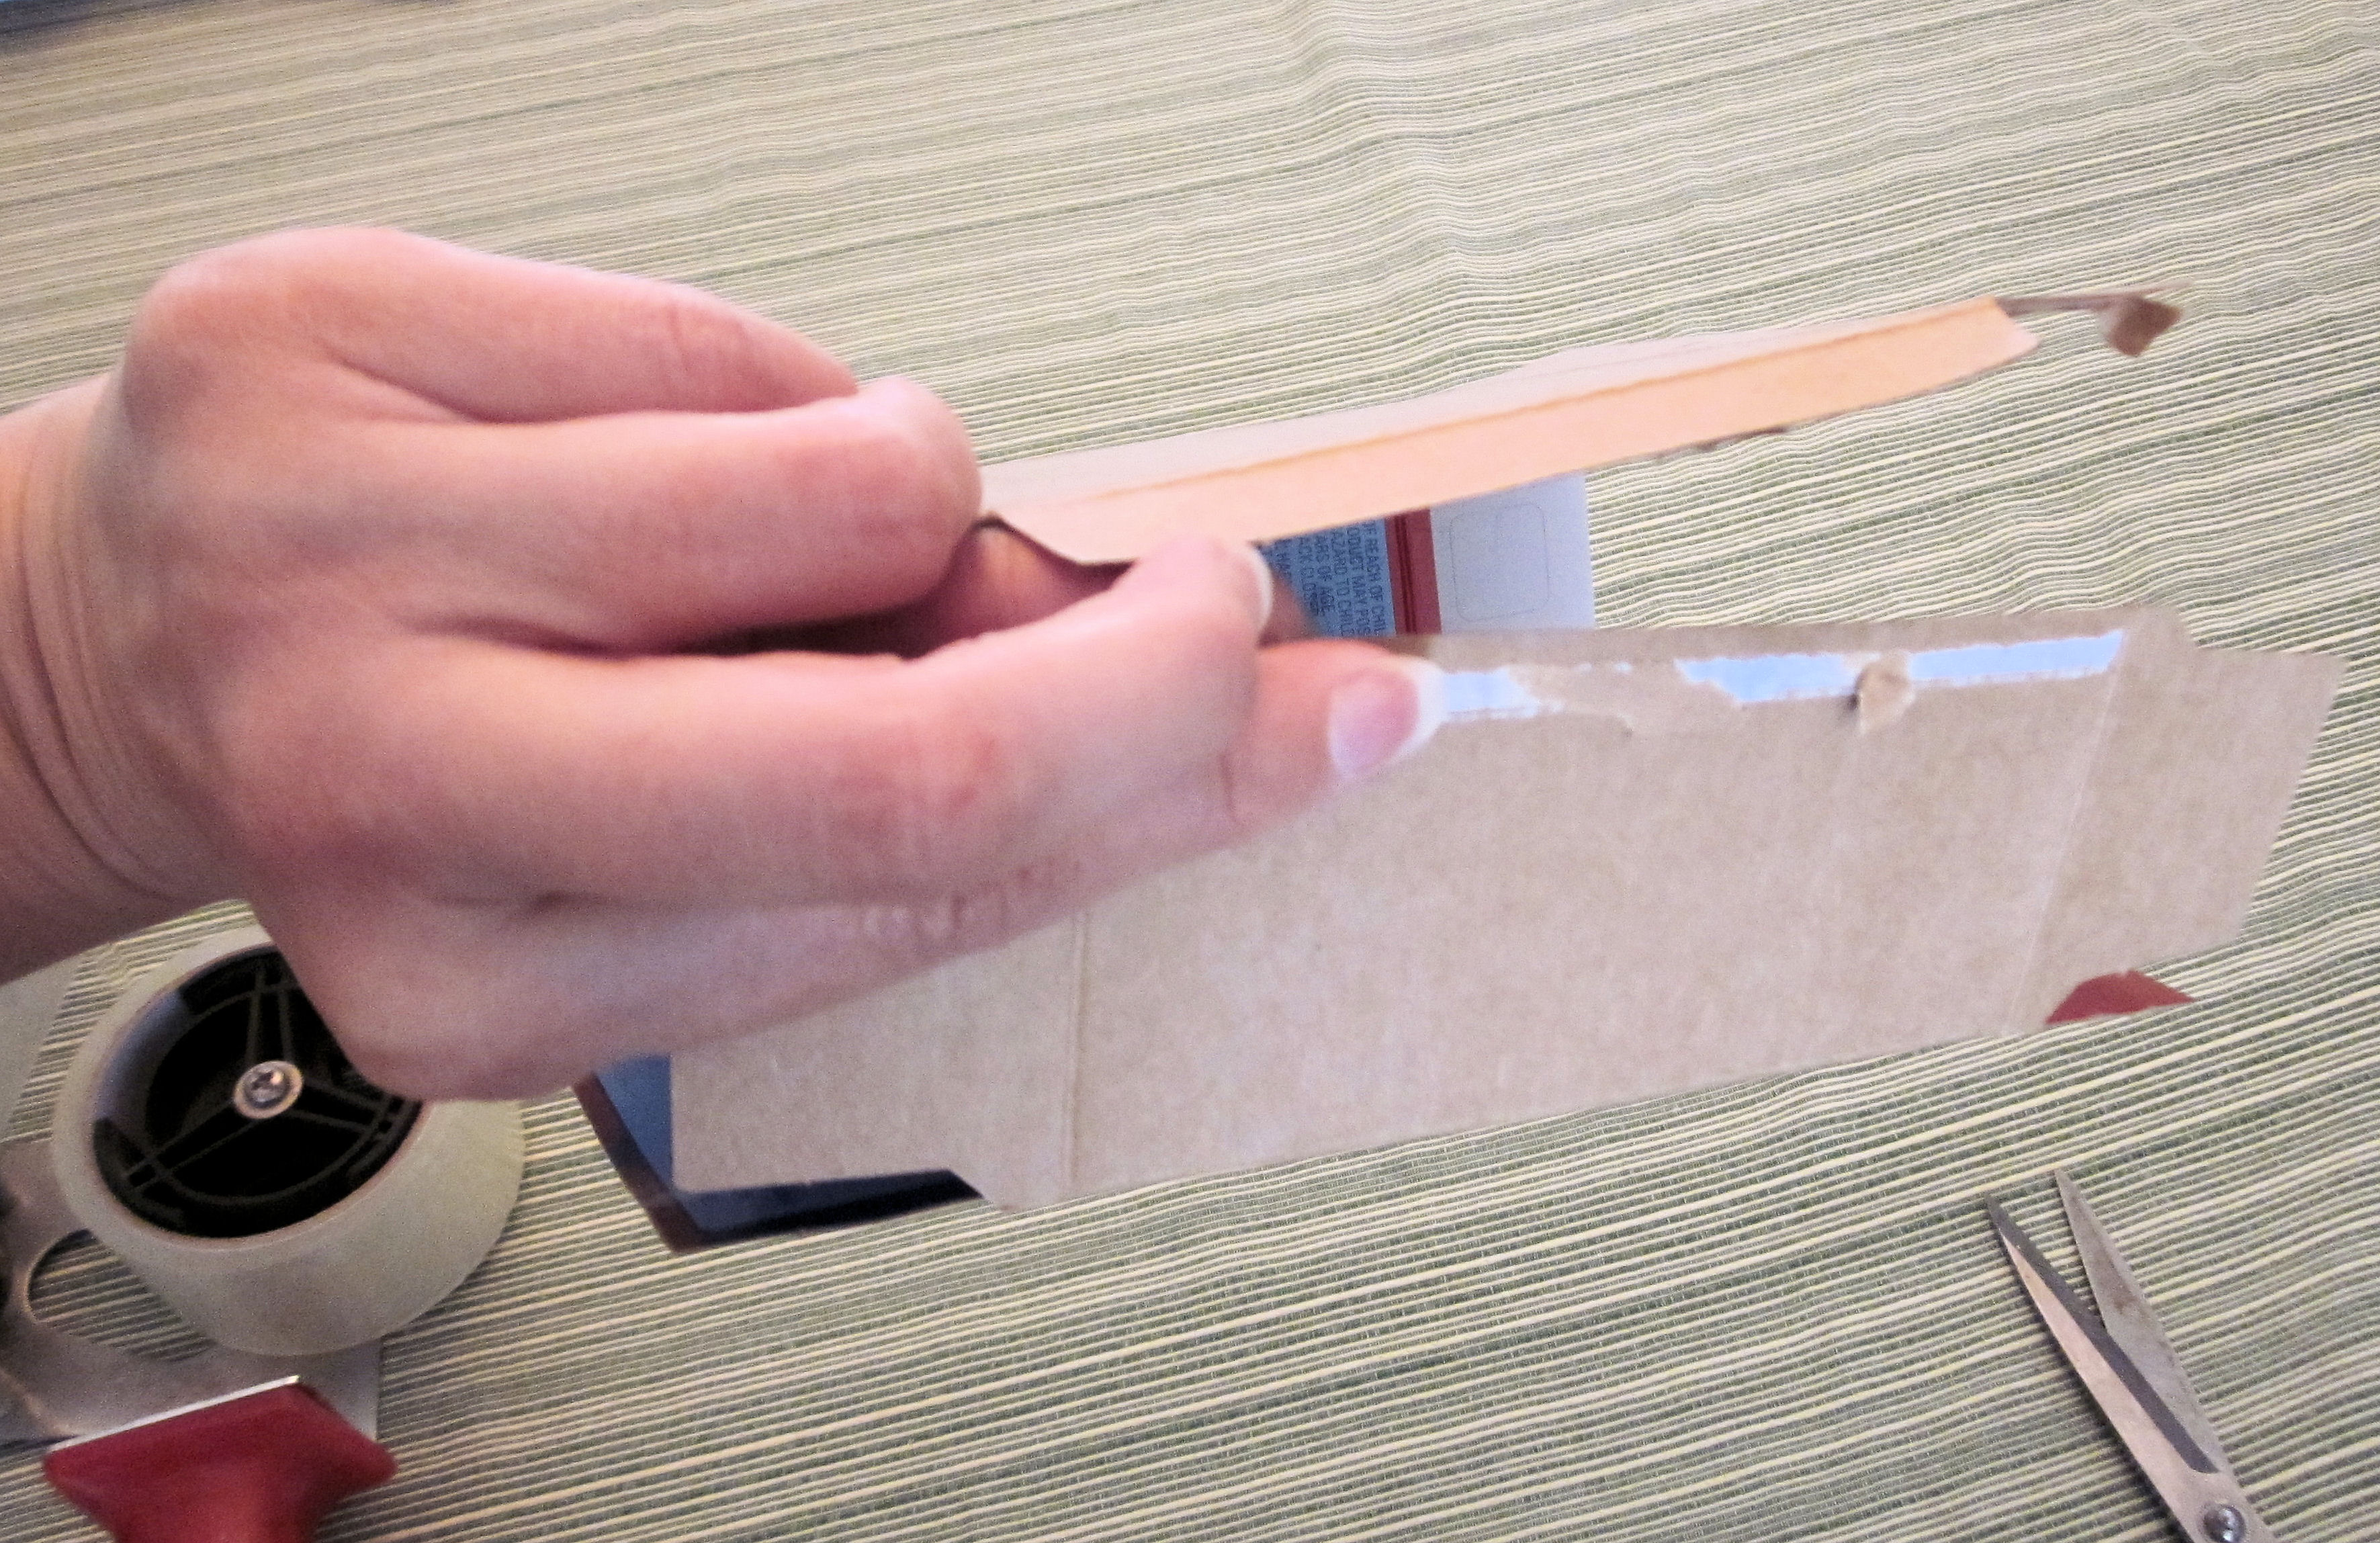
2. Then I gently open this inside seam:
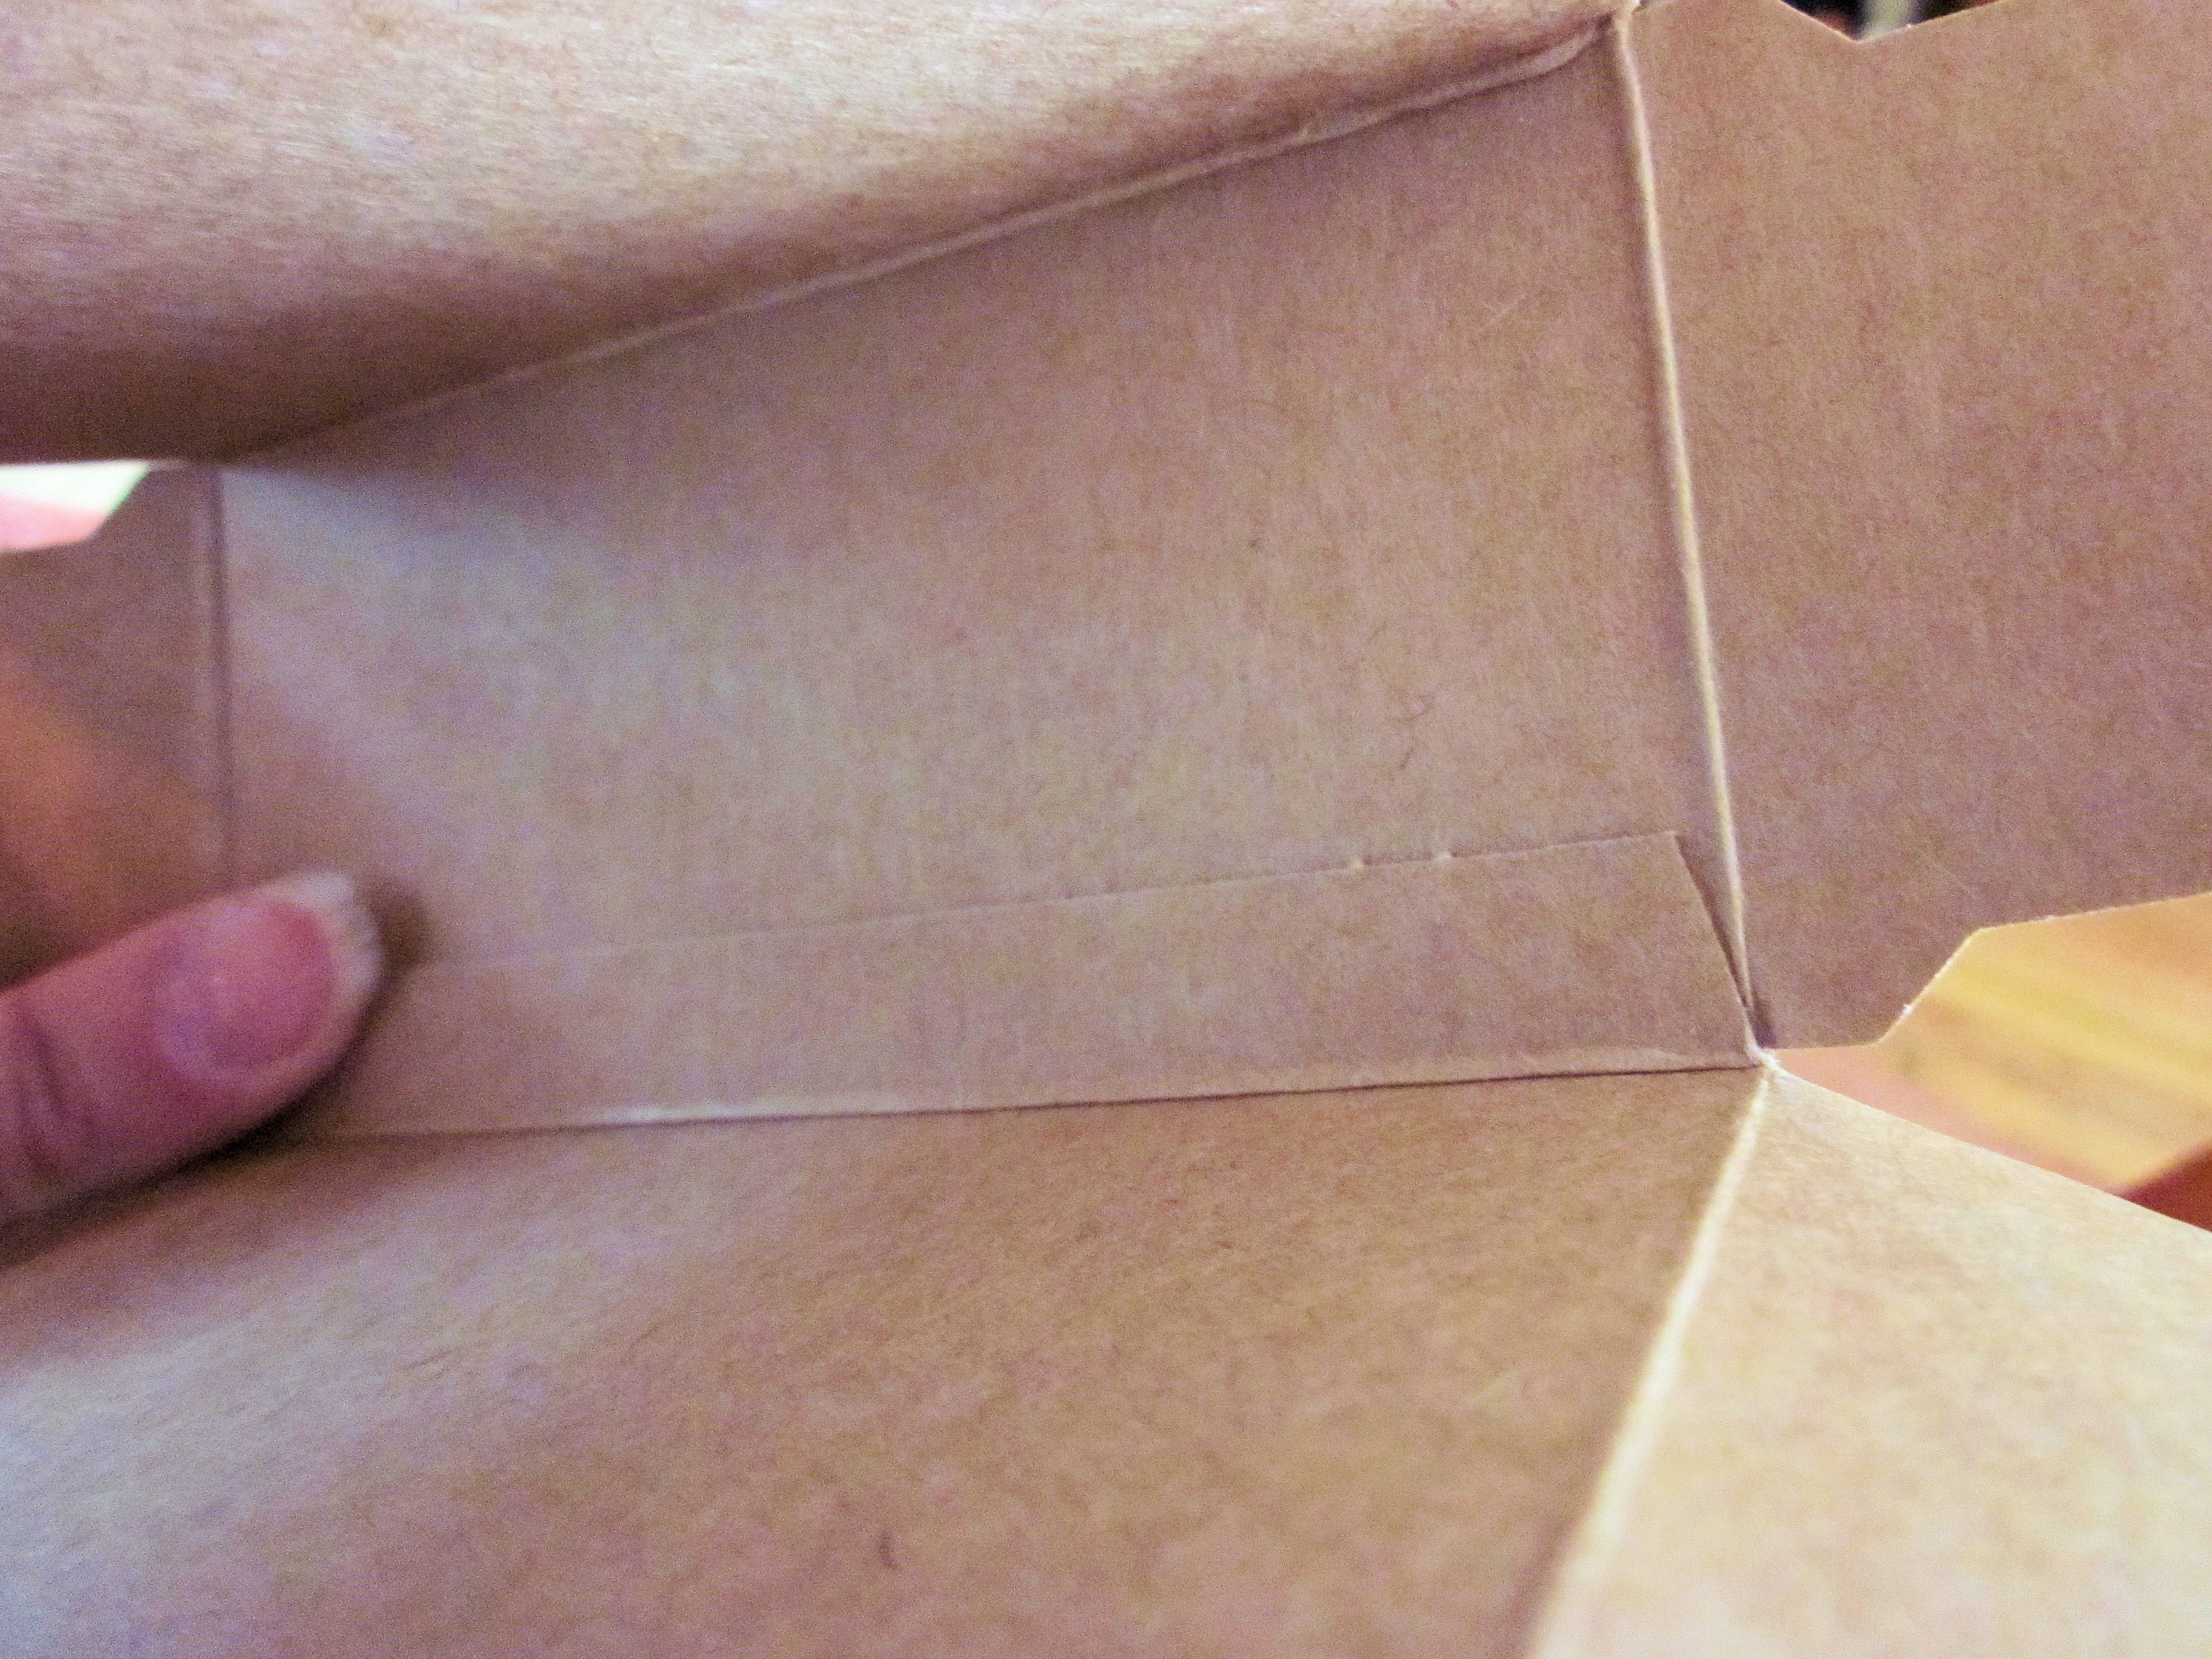
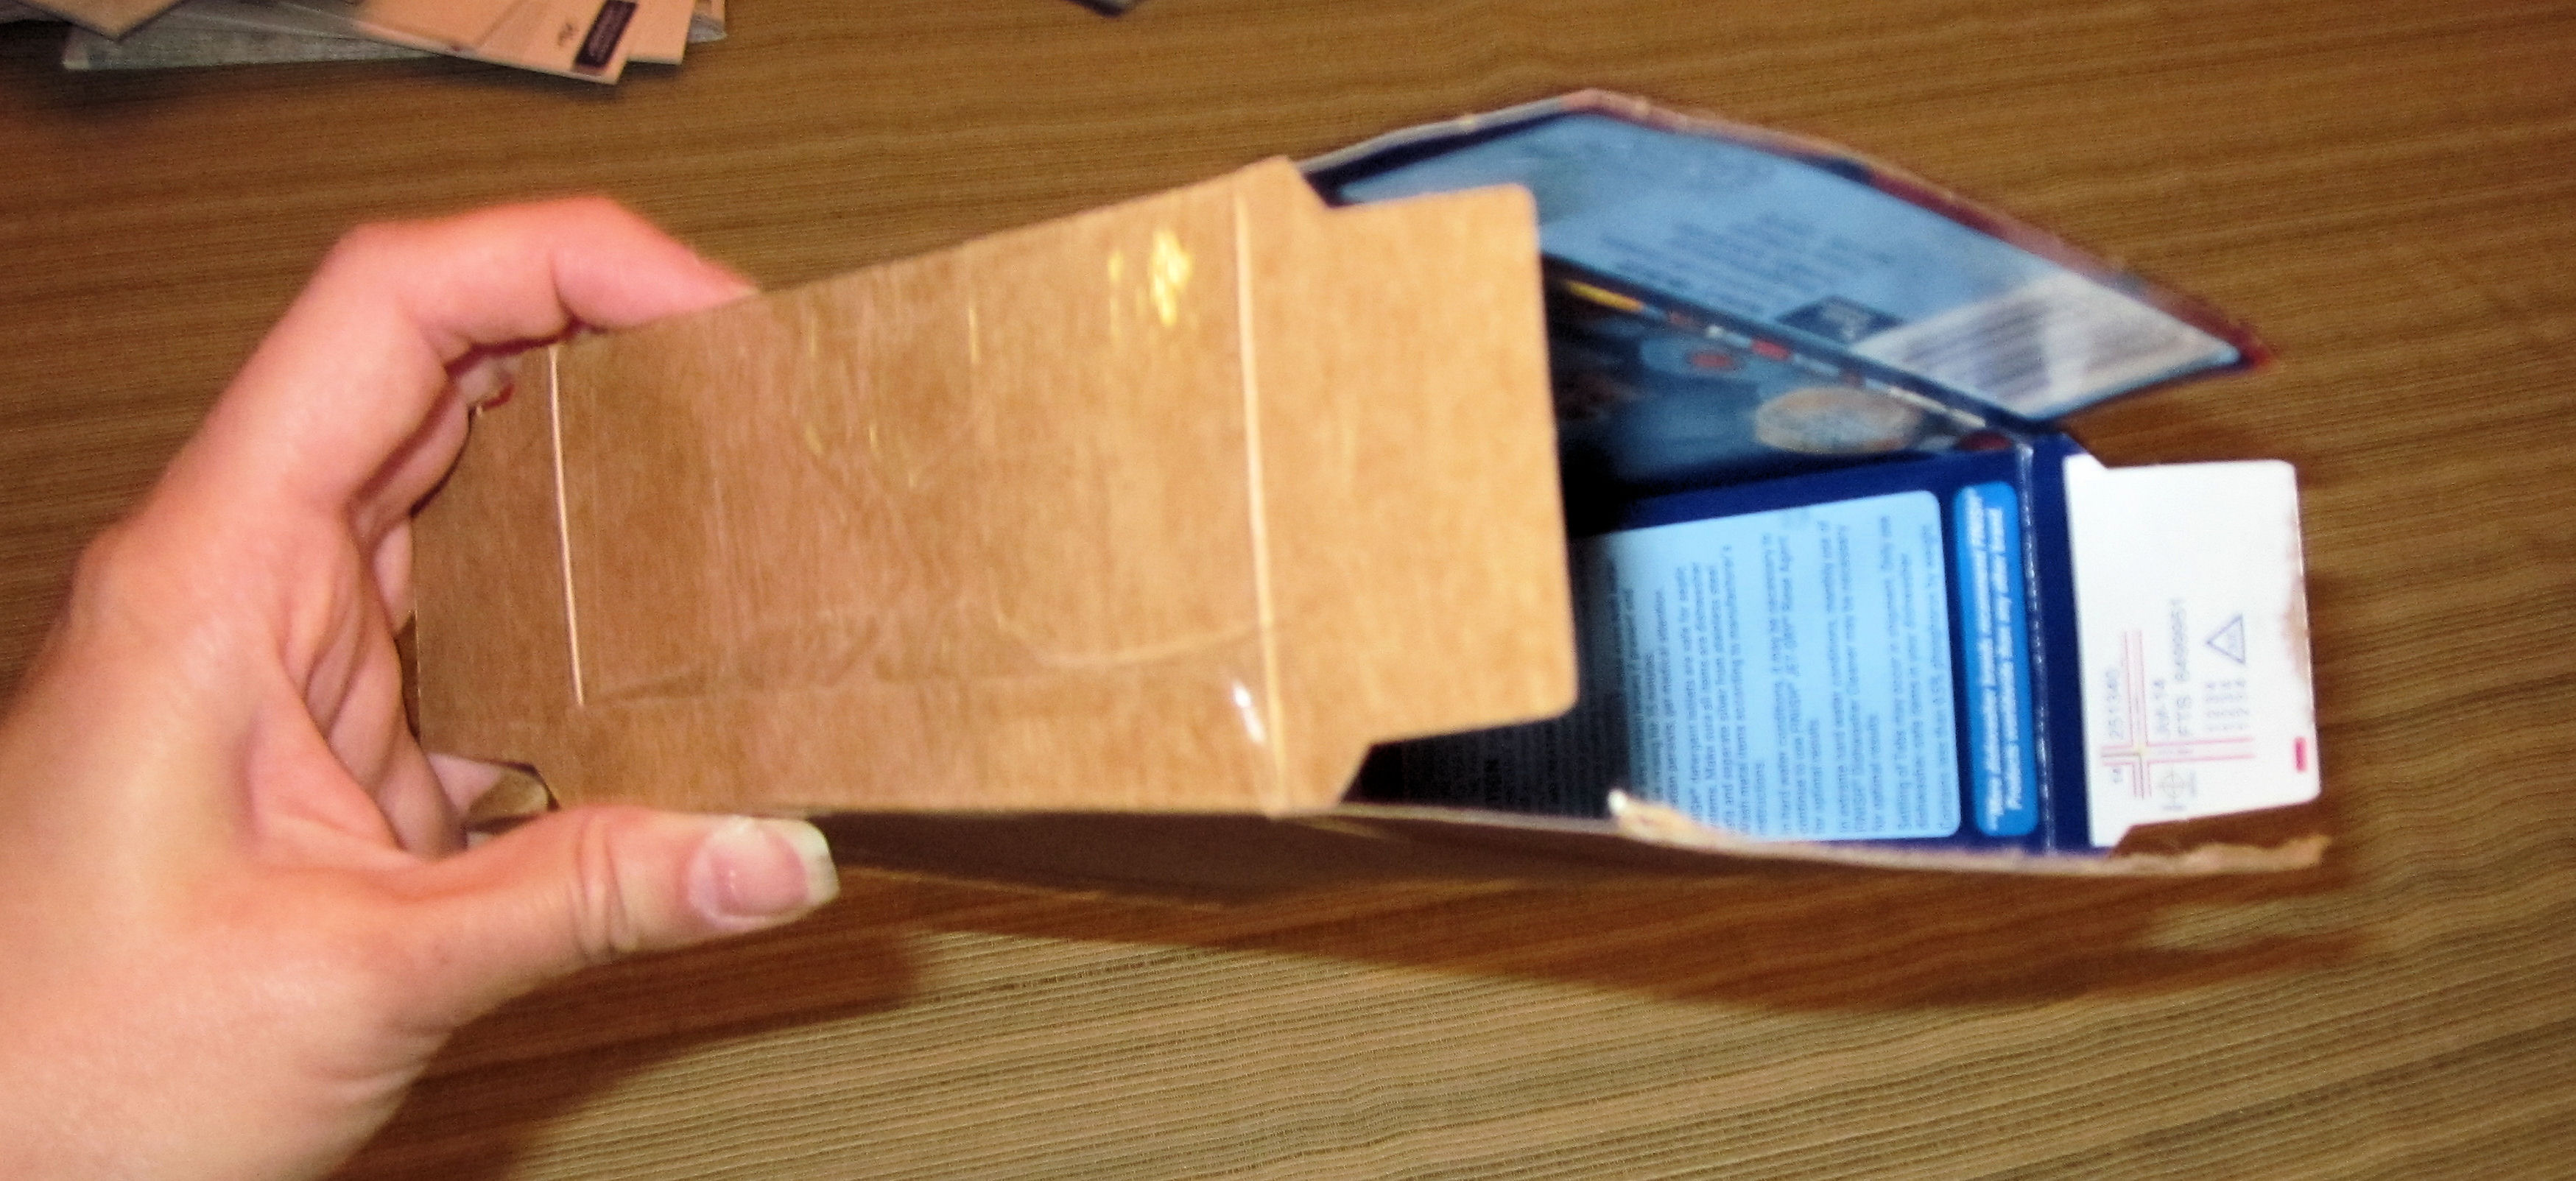
3. Then I am left with:
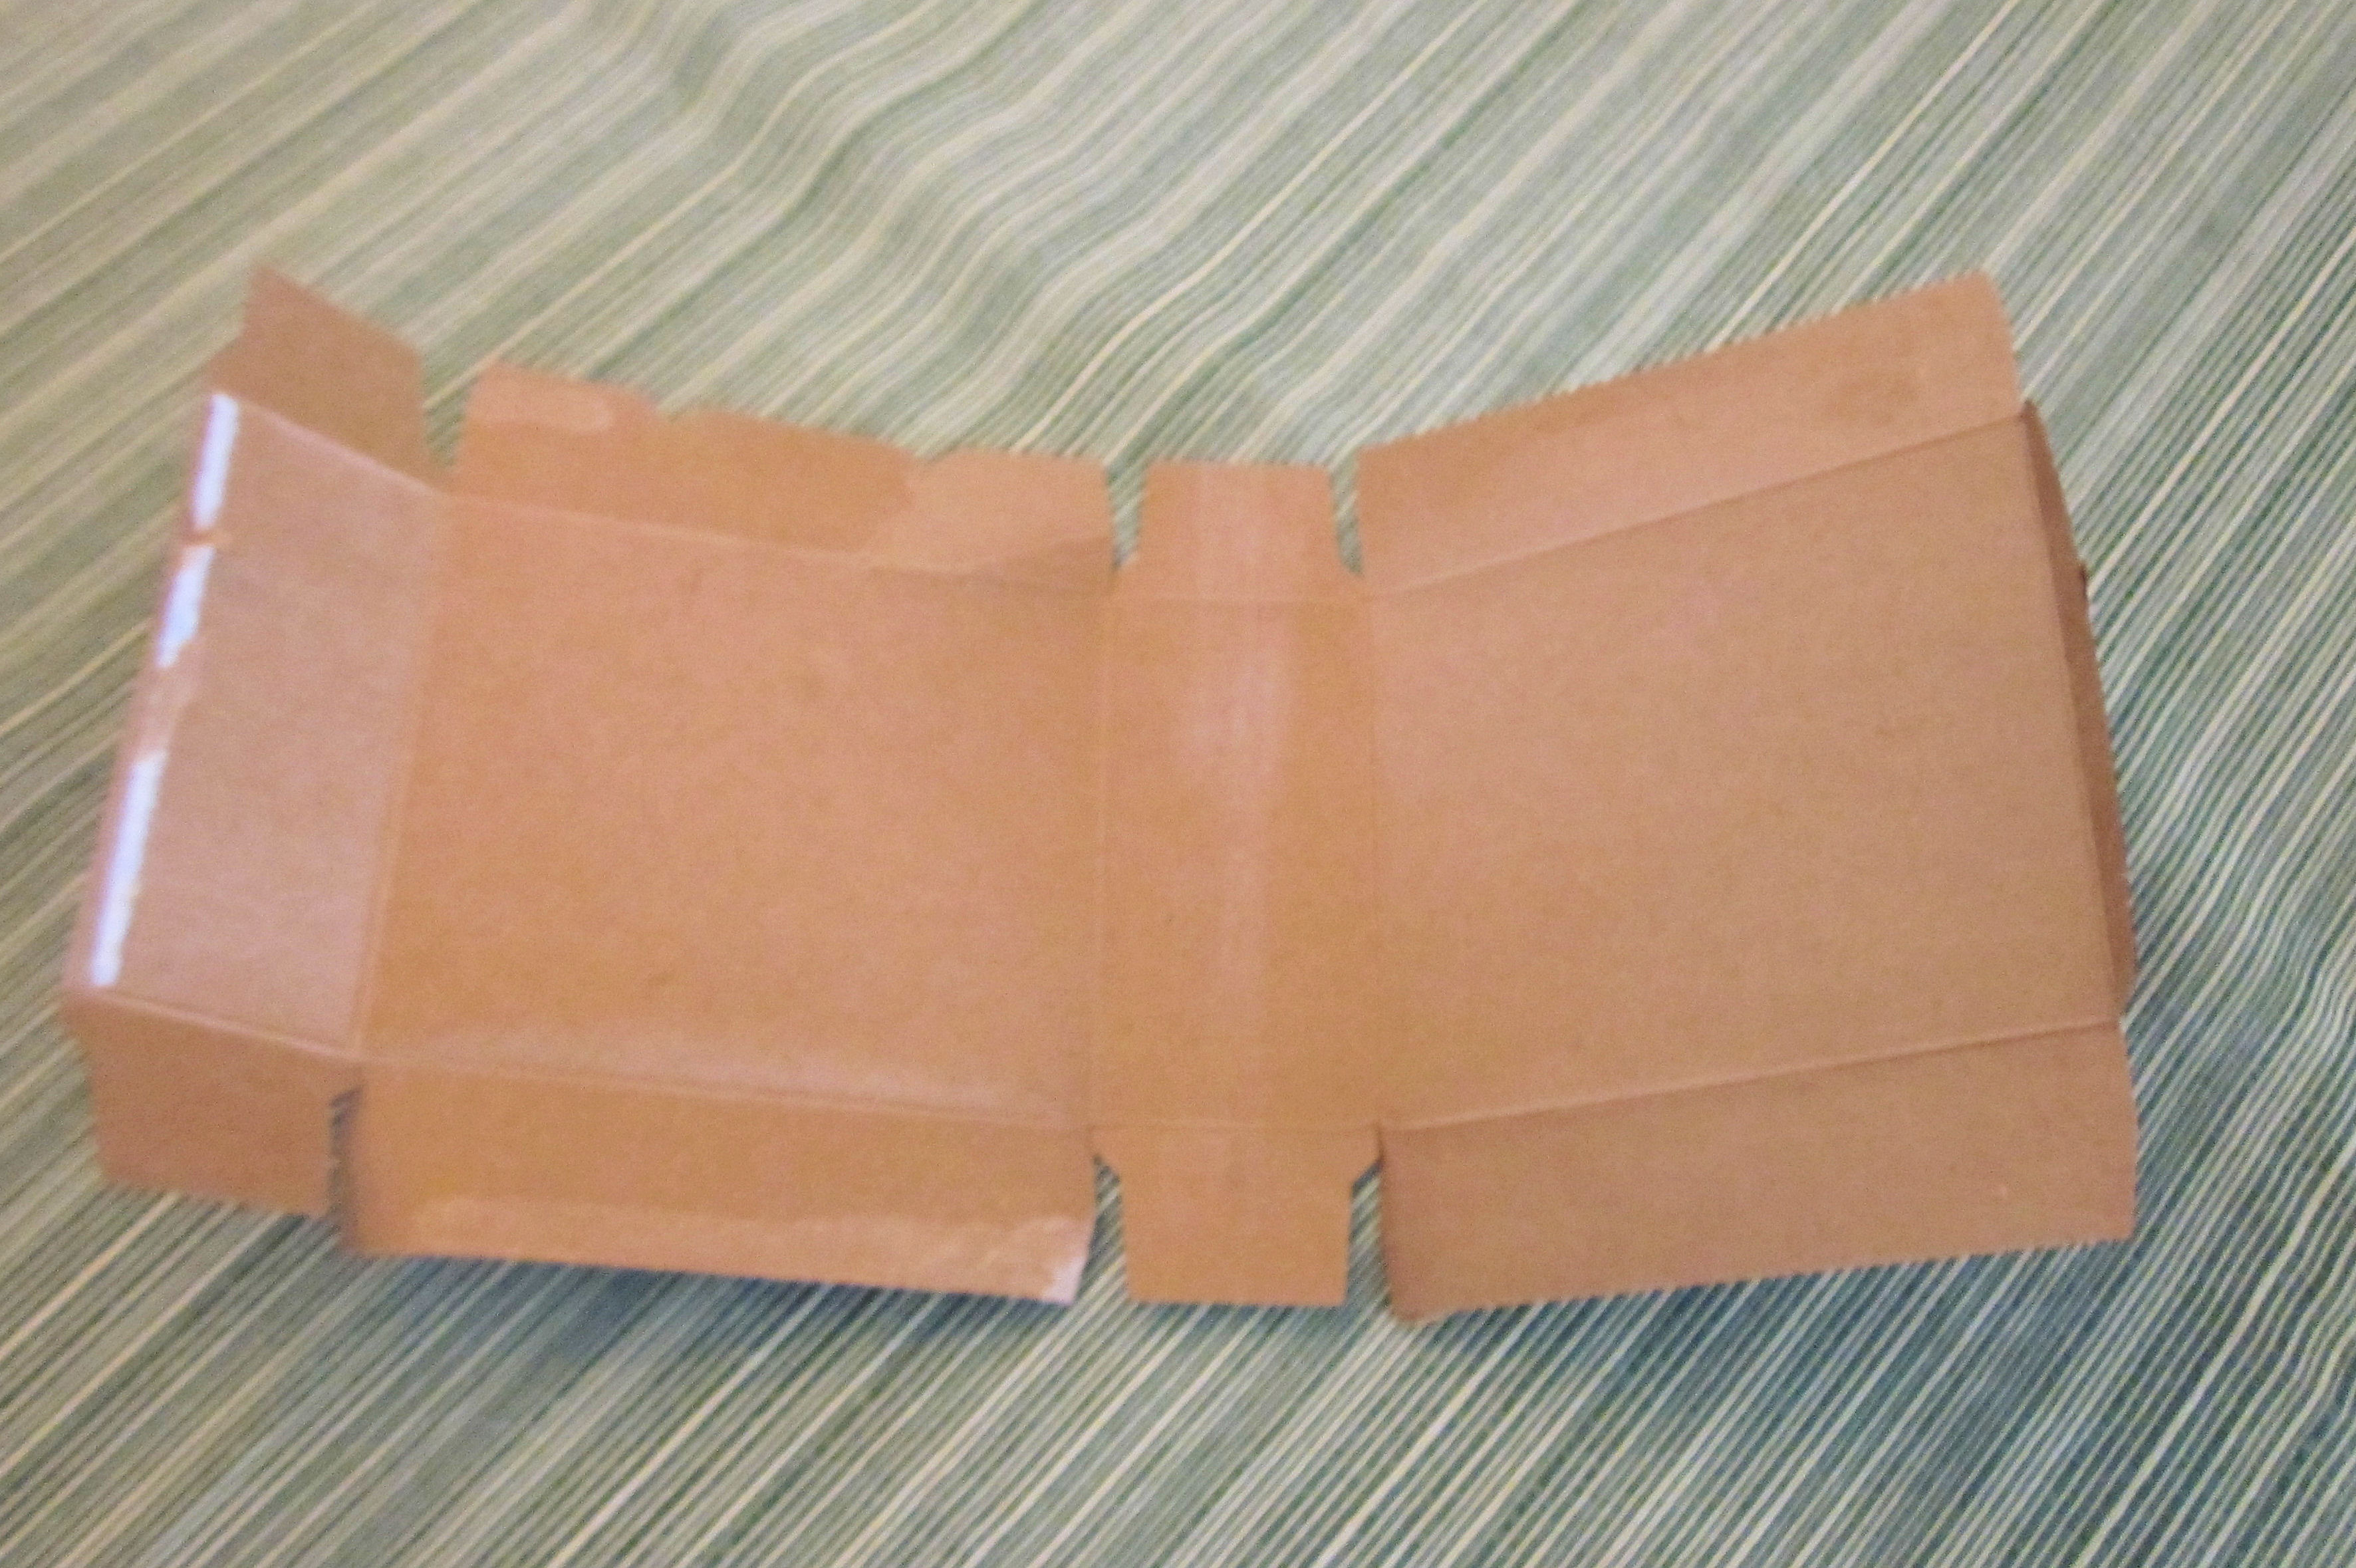
4. Now, I flip it around and re-join the seam:
5. Tape the seam closed with packing tape. (Make sure you press it into the tape really thoroughly.)
6. Tuck in the bottom flaps and tape those with packing tape as well.
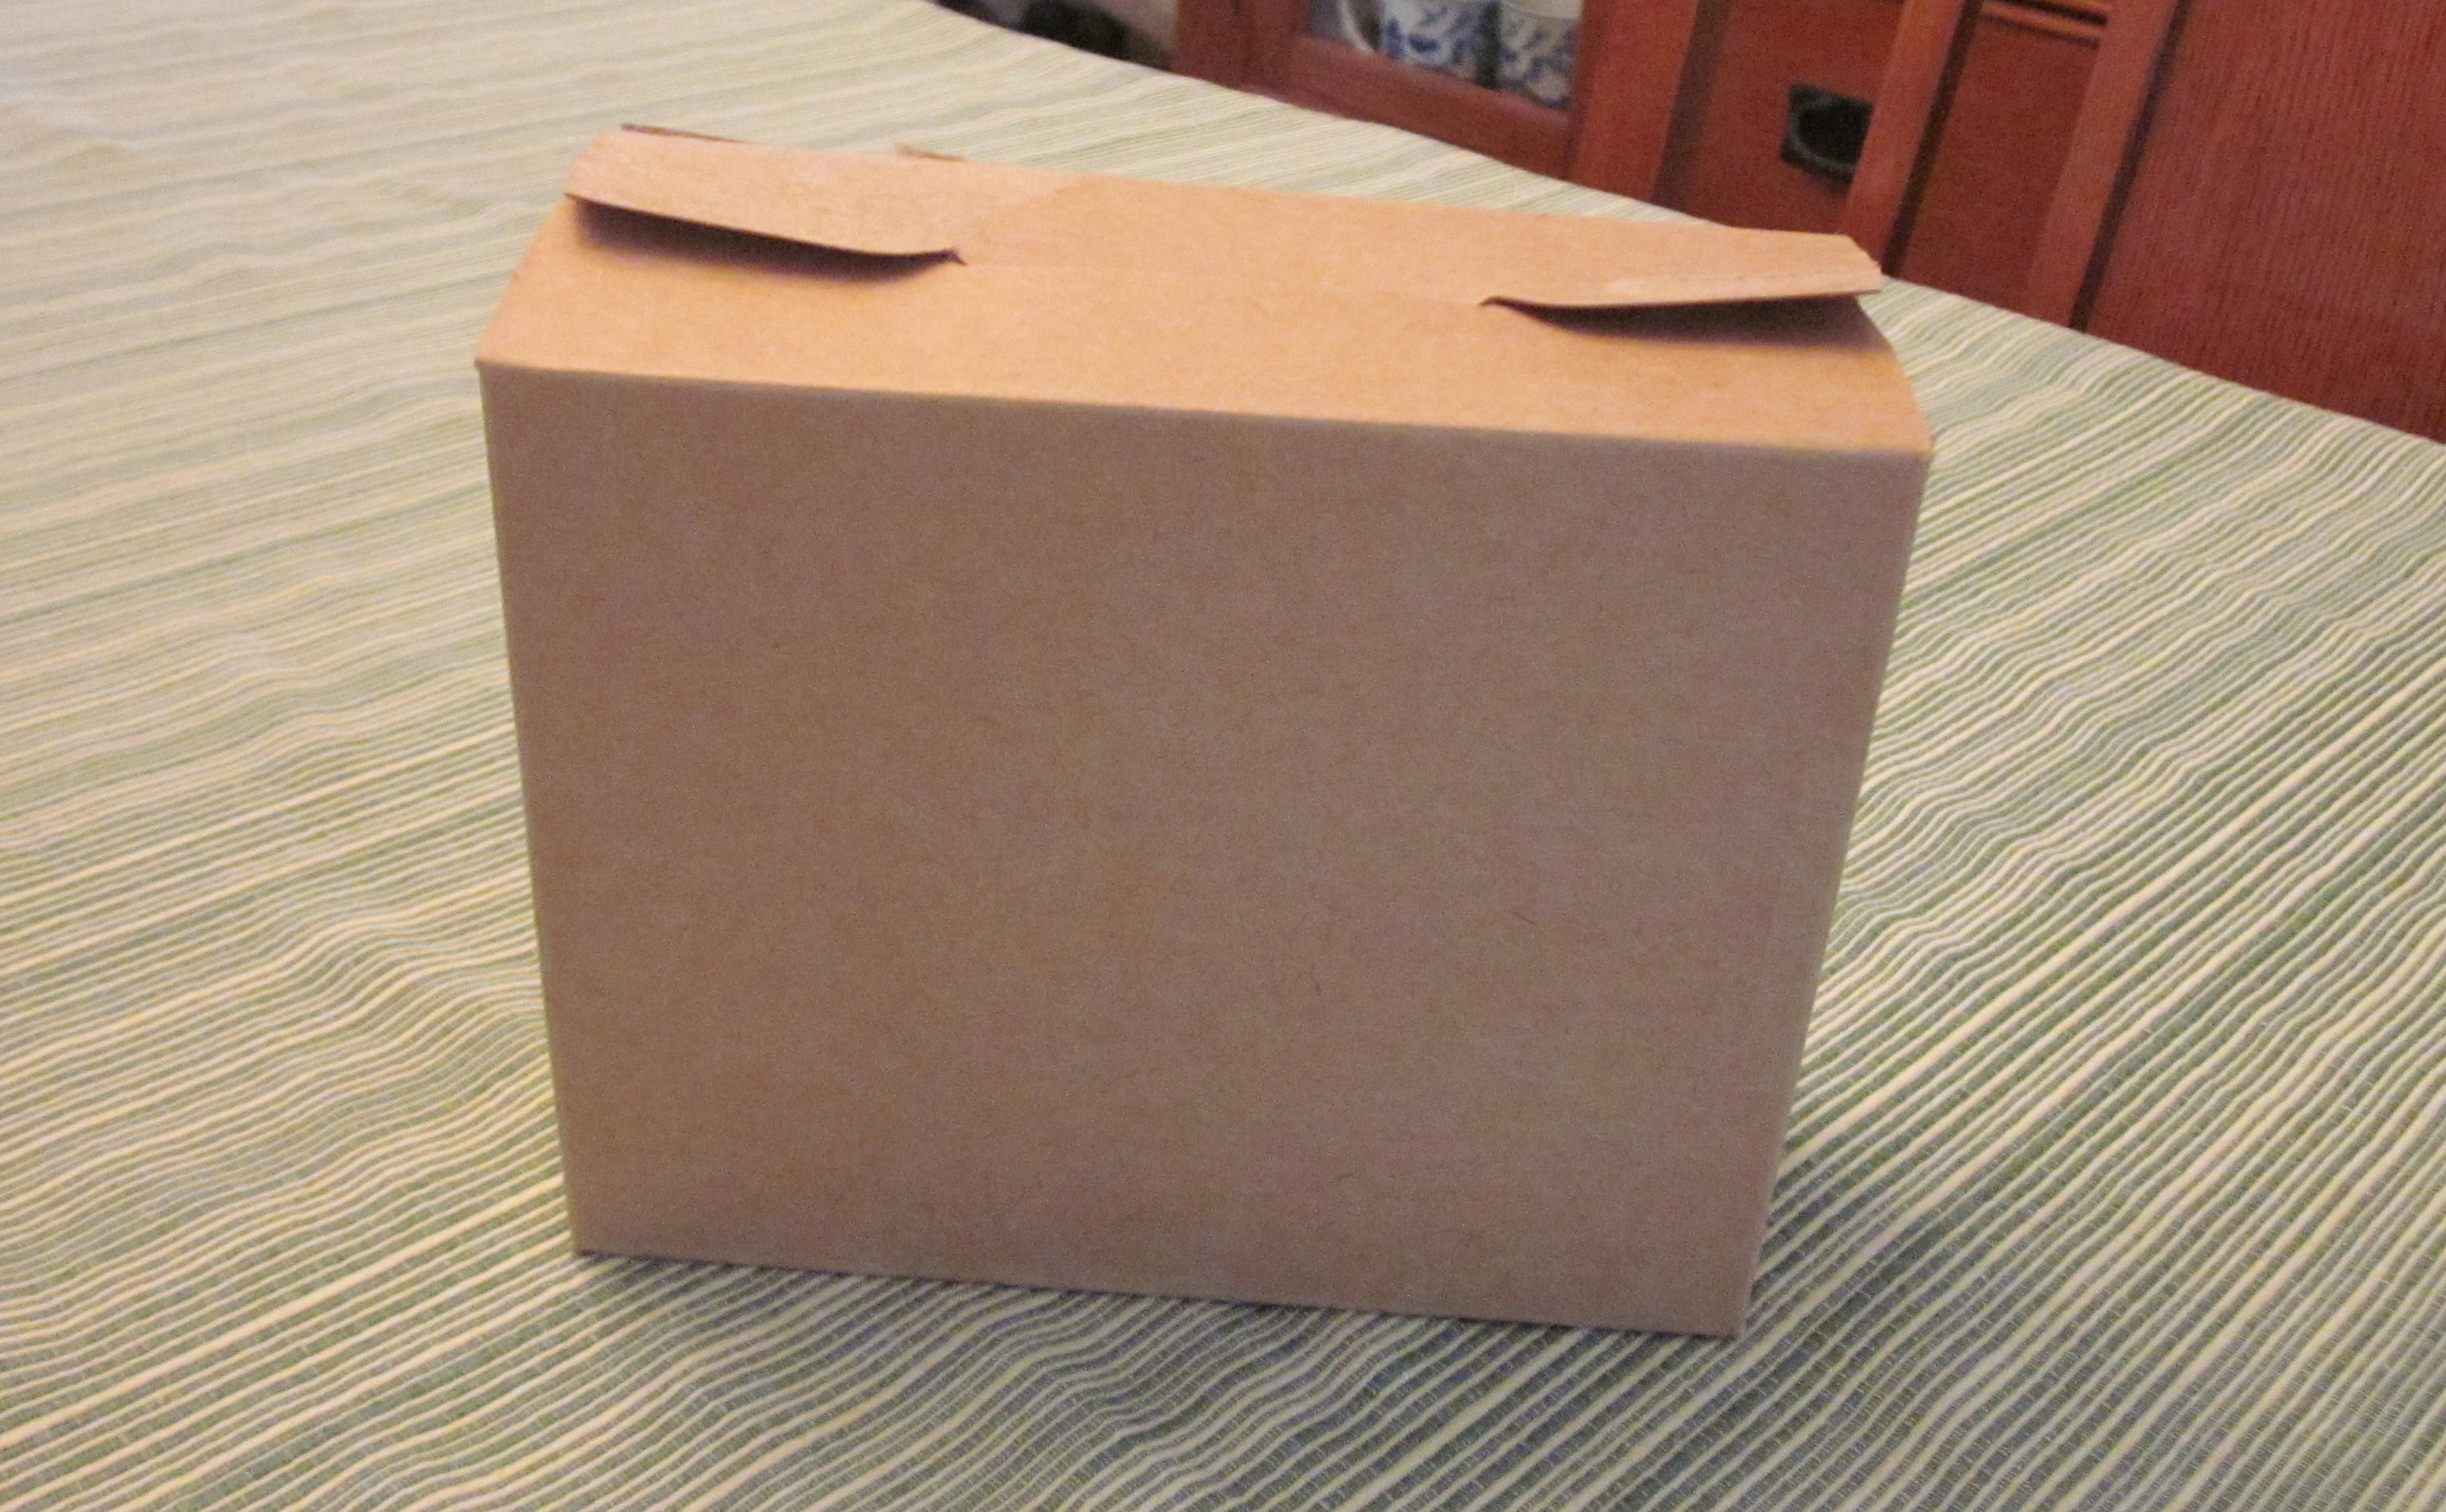
Voila! A cute little, free mailer box is born. I wasn’t ready to put the item in yet. So, I just used the orginal tab closure on the box. Of course, when It is ready to go, I will tape the top down as well. You can write your adress right on the box with a permanent marker or use a label. I saved money and re-used something that may have just gotten tossed.
Do you upcycle the packages that your household items come in? Do you think you might try it? Please leave me a reply in the comments section. I would love to hear from you.
Many blessings to all,
Cynthia
Please follow me on Twitter. Also, please LIKE my Facebook Page.